Are you a plant lover looking to expand your garden without spending a fortune? Do you want to start growing more food without investing in seedlings or seed packs?
Propagating is what you want to master! Propagation techniques allow you to grow more plants for free, whether you already have a garden or you are starting fresh.
- Cutting: Grow Roots From a Cut-Away Section of the Parent Plant
- Layering: Promote Root Growth From a Still-Attached Section of the Parent Plant
- Dividing: Divide a Root Ball into Several Smaller Clusters to Grow More Plants
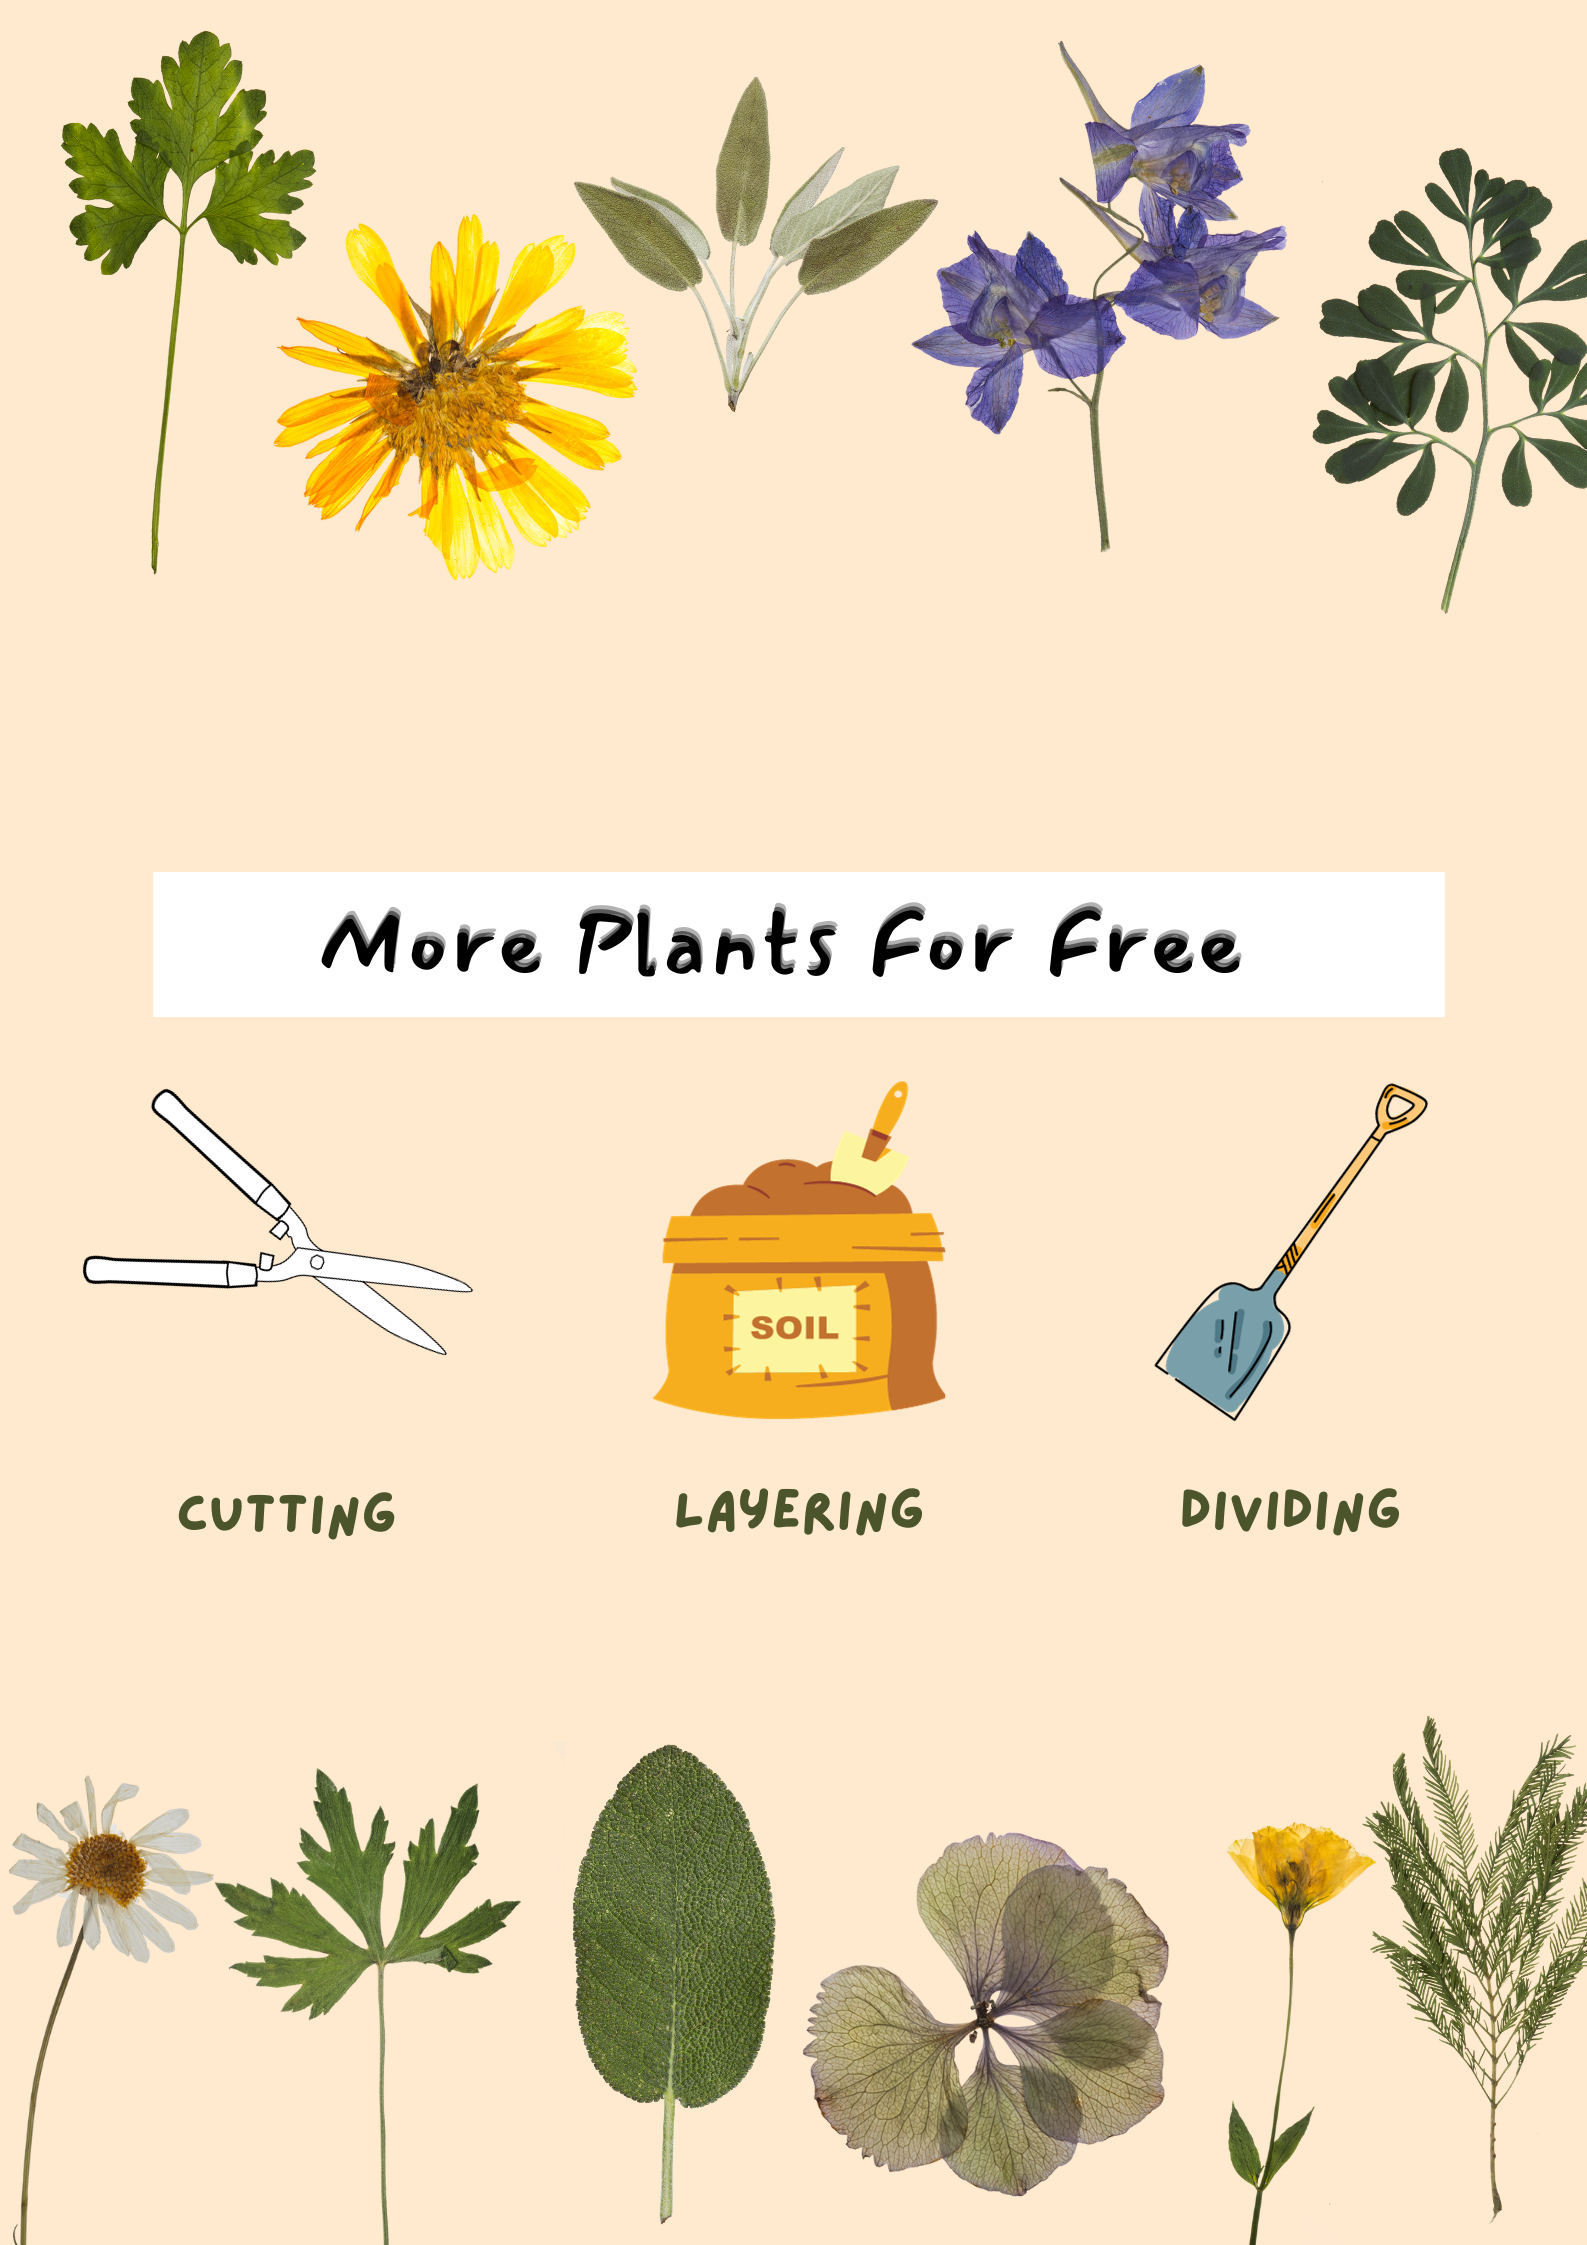
In this blog post, we’ll explore the cutting, layering, and dividing methods. These simple techniques will enable you to propagate and multiply your plant collection, even without an established stock, so you can fill your gardens, balconies, and windowsills with lush greenery at little to no cost.
Let’s dive in and discover the secrets behind each method!
Cutting: Grow Roots From a Cut-Away Section of the Parent Plant
Propagation by cutting is to take a portion of a healthy plant and encourage it to develop roots. This technique is great for creating several new plants in one go.
Step-by-step instructions for propagating from cuttings
- Step 1—Select the right plant: Choose a healthy, disease-free plant in its active growing season. Plants with long, sturdy stems work best for this method.
- Bonus Tip 1: If you don’t already have this plant, ask a neighbour who does. Most proud gardeners would be happy to share their stock.
- Bonus Tip 2: You can reutilize vegetables and herbs in your kitchen. When I have to buy basil, I always set aside a couple of healthy-looking sprigs to grow new plants. The same goes for mint and many other herbs.
- Step 2—Prepare the cutting: Using clean, sharp pruning shear or a knife, make a clean, diagonal cut just below a node (where leaves emerge).
- Optional 1: Dip the cut end in a rooting hormone to promote root development. This step is known to enhance the success rate and/or fasten the process.
- Full disclosure: I have always skipped the rooting hormones because my propagation tends to work fine regardless, and I often delay buying extra stuff until I absolutely have to.
- Optional 2: Gently scrap off the outer layer at the bottom of the cutting to help the roots grow.
- Optional 1: Dip the cut end in a rooting hormone to promote root development. This step is known to enhance the success rate and/or fasten the process.
- Step 3—Plant and care for the cutting: Insert the cutting into the medium of your choice.
- Water is generally the best starting point because it is simple to prepare, and you can easily spot the growing roots. Once you see enough new roots, you can move the rooting stems into the soil.
- Note 1: Change the water regularly to give the submerged parts more oxygen, which stimulates root growth.
- Note 2: Remove the leaves under the water level.
- You can also put the cutting(s) directly into the soil. Keep the soil moist but not waterlogged, and place the pot in a warm, bright location without direct sunlight.
- Note 1: You can check for roots by (very) gently tugging at the cuttings to see if they move easily or if they have started to set a firm hold in the soil.
- Note 2: Restrain from the temptation to do Note 1 👆 too early because it can damage the young roots.
- I would wait for two weeks or even more, depending on the types of plants and the part of the growing season when you put down the cutting(s).
- When in doubt, just leave them be and wait for the new shoots to come out.
- Other rooting media are vermiculite, perlite, moss, or peat. Each of them or a mix of several might be better for propagating a certain plant if you have them lying around or live close to a well-stocked garden centre. Otherwise, simply start with water or soil and see how things go.
- Water is generally the best starting point because it is simple to prepare, and you can easily spot the growing roots. Once you see enough new roots, you can move the rooting stems into the soil.
Plants that can be propagated by cutting
Many plants can be propagated from cuttings. The list includes hardy groundcovers, flowering vines, and most of the commonly-used herbs. Think basil, mint, thyme, sage, tarragon, rosemary, chamomile, lavender, lemon balm, and bay leaves.

Layering: Promote Root Growth From a Still-Attached Section of the Parent Plant
Propagation by layering encourages a part of the plant—a low-hanging stem or a sturdy side branch—to develop roots while it is still attached to the parent plant. Layering is the go-to alternative for plants that don’t grow well from cuttings.
Step-by-step instructions for propagating by layering
- Step 1—Select a branch or stem on a parent plant where we will try to grow the extra roots
- In simple layering, choose a healthy, low-growing branch or stem that can be bent and buried in the soil.
- In air layering, choose a strong side branch, not too close to the others, to have enough space to attach the soil bag.
- Step 2—Wound the stem: Gently scrape off a small section of the bark on the stem or the branch where it will come into contact with the soil. This encourages root growth.
- Step 3—Cover the bark-less part with soil:
- In simple layering, dig a shallow trench near the parent plant and bury the wounded section of the branch, leaving a tip exposed. Anchor the branch in place with a U-shaped wire or a small stone. Bury the section in the soil and keep it moist. You can treat the area with rooting hormone before covering it to promote root growth.
- In air layering, wrap a plastic bag tightly around the spot with a moist growing medium (sphagnum moss, perlite, peat, compost, or a mix of all). Make it airtight to keep the moisture inside and the insects out.
- Step 4—Wait for roots to develop: Roots will form at the buried section over time. Depending on the plants, the layering methods, and the weather, this might take a few weeks or months.
- In simple layering, check for root development by gently tugging the branch.
- In air layering, wait until you see strong roots through the clear plastics. Be warned that this wait could be long!!!
- Step 5—Transplant: Once the roots are well-established, cut the branch from the parent plant and transplant it to a new location.
Plants that can be propagated by layering
Some plants, such as ivy or climbing hydrangea, naturally self-layer, while others need a little help. Nevertheless, the list of plants that can be propagated by layering is substantial, including both indoor and outdoor species. You can layer many herbaceous plants with low-hanging flexible stems like thyme or sage and air-layer a host of (fruit) trees.
Dividing: Divide a Root Ball into Several Smaller Clusters to Grow More Plants
Dividing plants is another way to create multiple groups of plants from one original group. This method works well for plants that naturally produce offsets, rhizomes, or clumps.
Step-by-step instructions for propagating by dividing
- Step 1—Look up the right time for dividing a certain plant: Dividing is typically done when the plant is dormant, but it is also possible during the active growing season, depending on the species.
- Step 2—Dig up the parent plant: Gently remove the parent plant from the soil, careful not to damage the roots.
- Step 3—Separate the parts: Use your hands or a clean, sharp tool to divide the group into smaller sections. Each section should have its own set of roots and shoots.
- Step 4—Replant and care for divisions: Place the divided sections in prepared soil in their new locations. Water thoroughly. Keep an eye on them at the beginning, as they might be more vulnerable to extreme elements (heat or wind). Give them the extra TLC until they settle in the new place.
Plants that can be propagated by dividing
Most perennials can be divided and will benefit from division every two to three years to maintain health and vigour. If in doubt, look it up. And while you are there, check the best time for division before bringing out the spade.
A few final words
Propagating to get more plants for free is an excellent way to expand your garden and enjoy the beauty of nature without spending a fortune.
By mastering the cutting, layering, and dividing techniques, you can propagate your favourite plants and fill your garden with a variety of greenery. Experiment with these methods, and soon, you can share your plants with friends and family, spreading the joy of gardening in abundance. Ask your fellow gardener friends to return the favour of cutting, layering, and dividing to increase your stock and strength that bond. A win-win for sure.
Now, let’s get snipping, digging, and splitting!
If you enjoy this post, you might also appreciate our FREE cheat sheet with 12 Tested Gardening Ideas for Small Spaces.
Provide your info for a link to the downloadable resource and be opted into our email list for the (very) occasional product promotion.


Leave a comment