Limited gardening space shouldn’t stop you from enjoying the vibrant beauty of tulips each spring. Use these strategies to ensure your tulips return and thrive year after year, no matter how little room you have.
- Choose Tulip Varieties With Perennial Qualities
- Practice Proper Care Before, During and After Blooming
- Use Containers Strategically
- Plant Densely but Smartly
Choose Tulip Varieties With Perennial Qualities
Start by selecting the types of tulips known for their perennial qualities.
In the wild, tulips are naturally perennial plants that return year after year. In a garden, such a return is more a promise than a guarantee, and much of that has to do with the varieties you pick (or don’t pick).
Here’s the basics for the picking:
- Species tulips, the wild ancestors of the modern hybrid tulips, are much more likely to return when planted in the right conditions for naturalisation.
- Modern hybrid tulips are often bred for specific properties. Being perennial could be one such property, but that’s not always the case. (Some commercial growers breed their tulips for extravagant display at the cost of the ability to return.)
If you want to move the needle towards a guarantee, go for species tulips or ensure the hybrid ones you buy are specifically bred for returns.
Admittedly, the search could be overwhelming because of the sheer number of tulip varieties (and cultivars) with rather non-descriptive names.

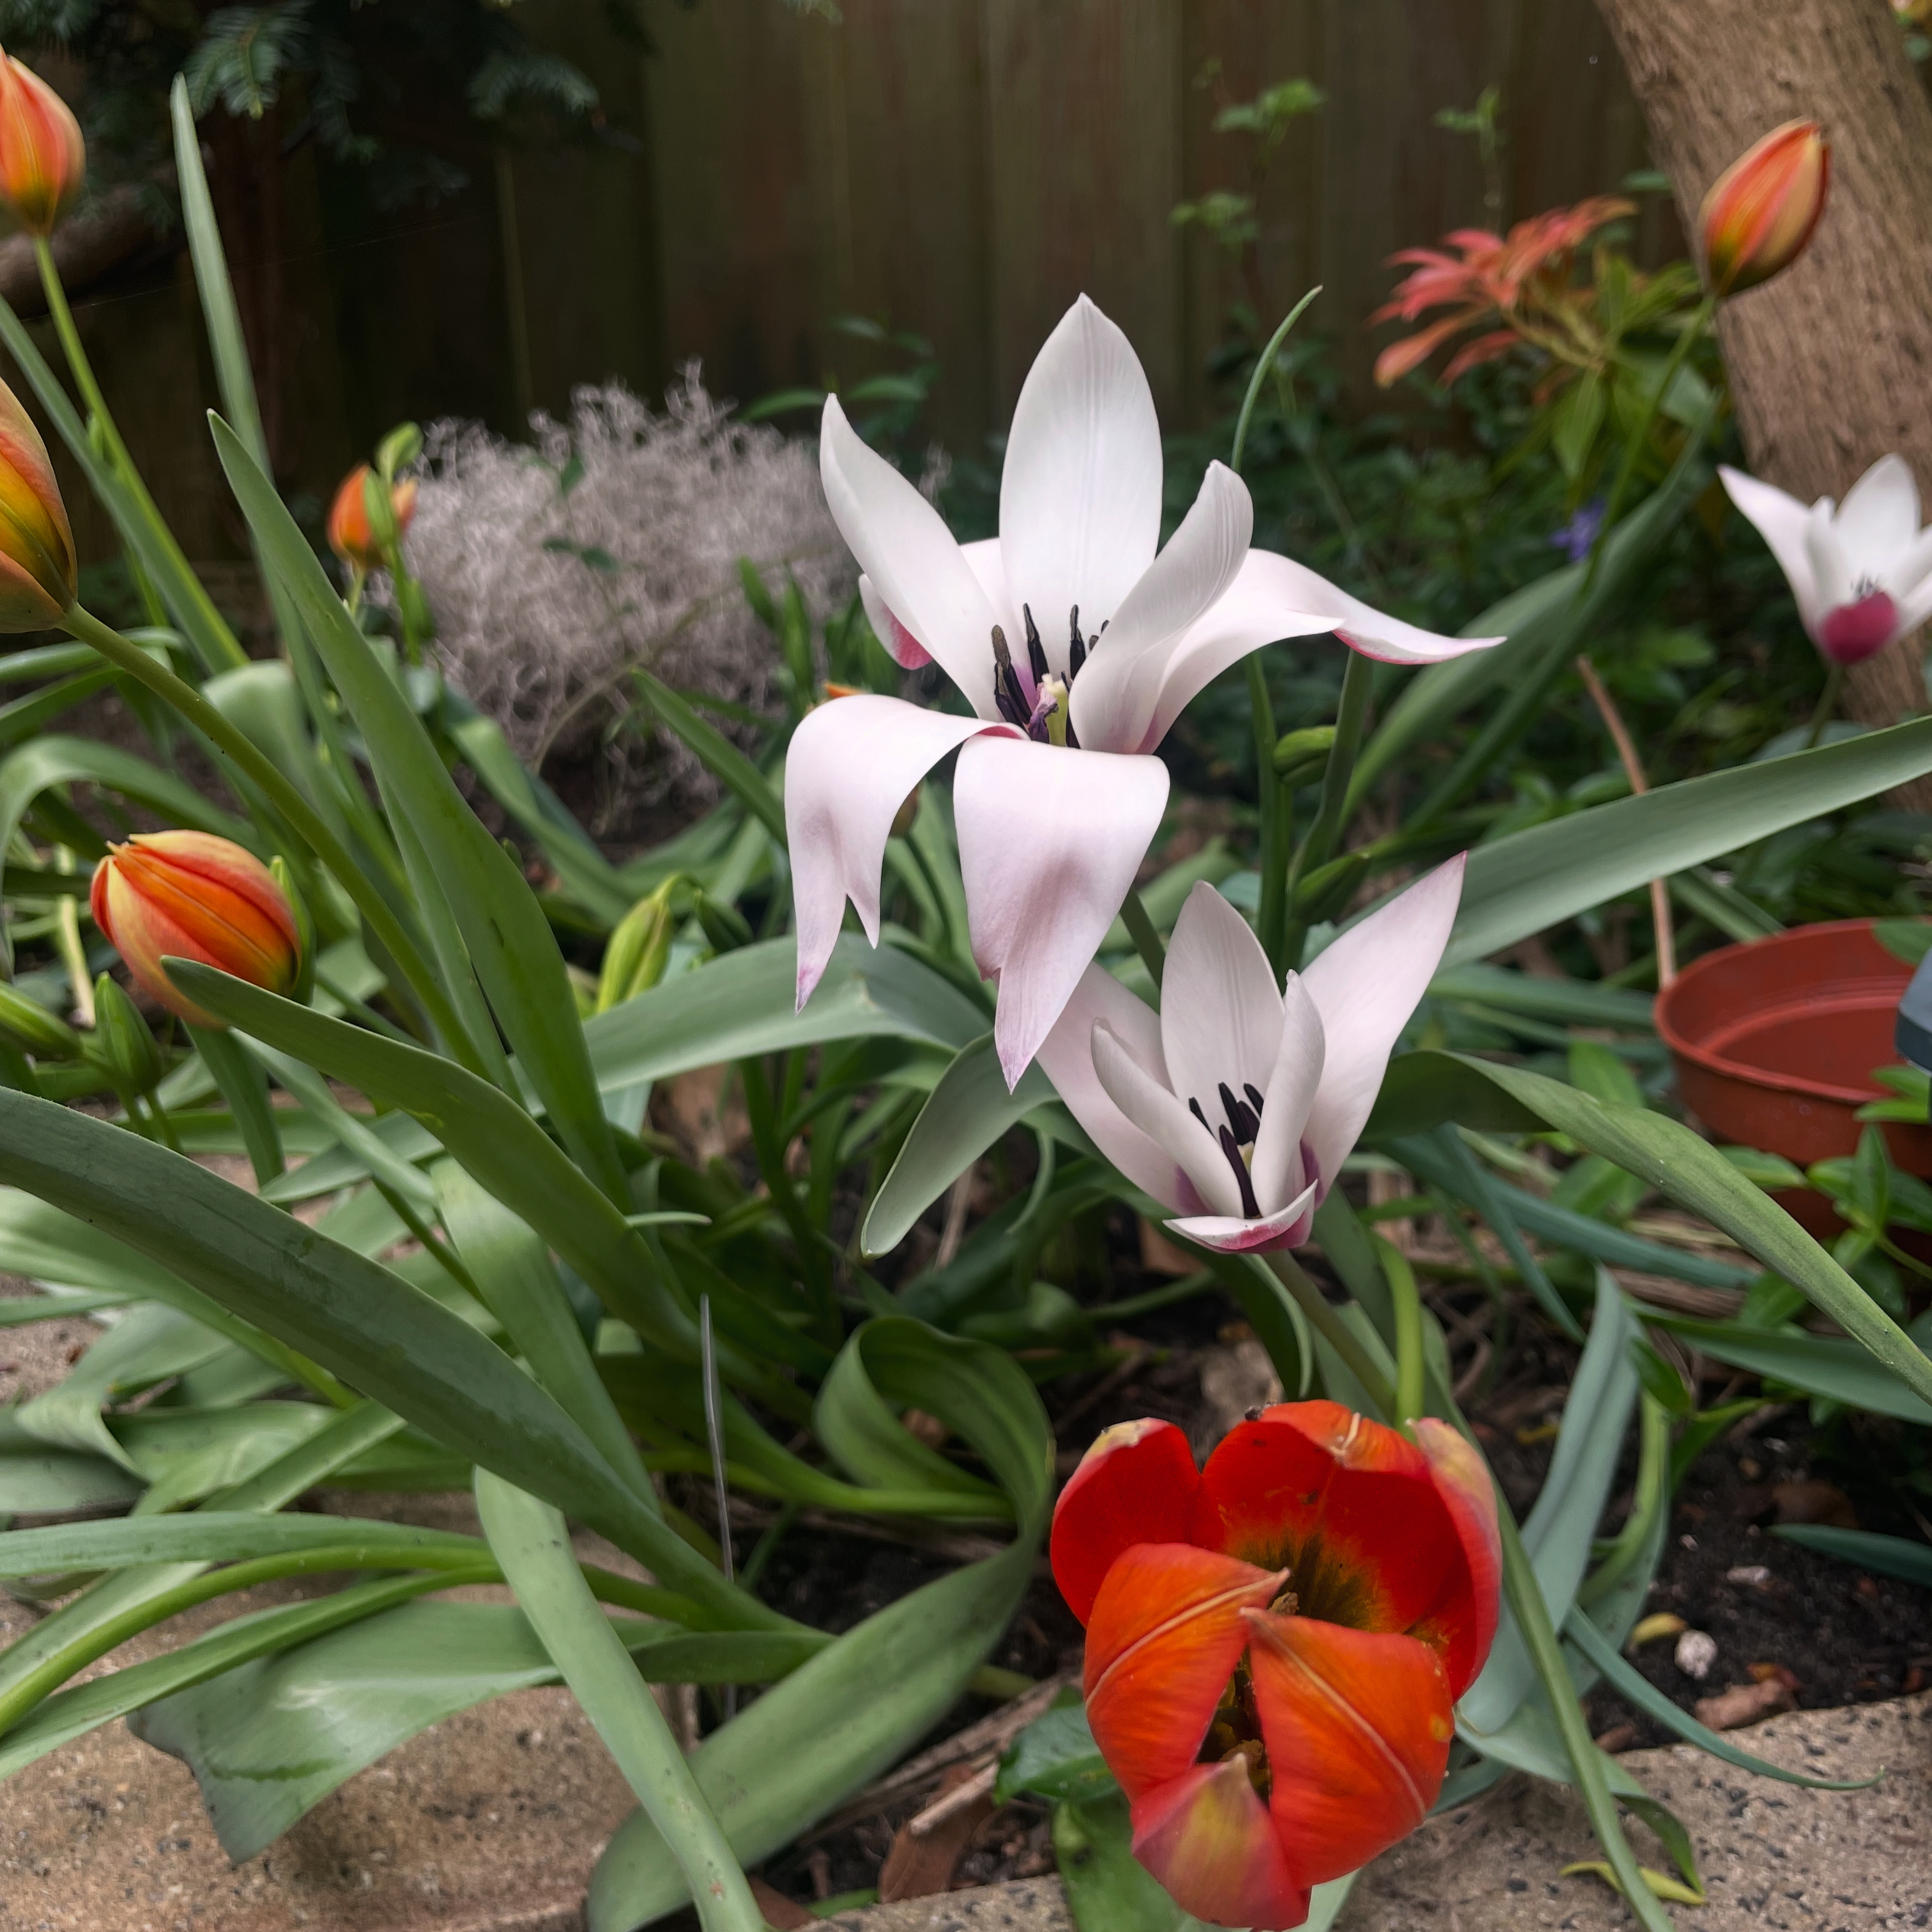
So, we’ve compiled a list of 10 species and hybrid tulips known to come back reliably year after year. These tulips are well-suited for smaller gardens due to their compact size and low-maintenance nature.
Here’s the list of perennial tulips with some basic growing information to help you get started:
- Tulipa tarda (Late Tulip)
- Height: 10–15 cm
- Bloom Color: Yellow with white edges.
- Notes: Forms a star-shaped flower; excellent for rock gardens and borders (or simply a well-drained container in a sunny spot).
- Tulipa clusiana (Lady Tulip)
- Height: 20–25 cm
- Bloom Color: Creamy white with pink to red markings.
- Notes: Graceful and slender, perfect for compact spaces. It is a later-blooming variety (mid- to late spring).
- Tulipa sylvestris (Woodland Tulip)
- Height: 20–30 cm
- Bloom Color: Bright yellow, often nodding.
- Notes: Naturalises well, ideal for meadow-like settings or woodland gardens (as it thrives in the moisture-retaining soil of partially shaded areas).
- Tulipa bakeri ‘Lilac Wonder’
- Height: 10–15 cm
- Bloom Color: Soft lilac-pink with a yellow base.
- Notes: Compact and delightful, perfect for containers.
- Tulipa saxatilis (Candia Tulip)
- Height: 20–25 cm
- Bloom Color: Lavender-pink with a bright yellow center.
- Notes: Thrives in rocky soils and naturalises easily.
- Darwin Hybrid ‘Apeldoorn’
- Height: 40–50 cm
- Bloom Color: Bright red.
- Notes: A classic hybrid tulip that is known for its sturdy stems and ability to return for several years when planted in well-drained soil and sunny locations.
- Tulipa kaufmanniana (Waterlily Tulip)
- Height: 15–20 cm
- Bloom Color: Red, yellow, or white tones.
- Notes: Early bloomer with flowers that resemble waterlilies.
- Tulipa praestans ‘Fusilier’
- Height: 20–30 cm
- Bloom Color: Vibrant red-orange.
- Notes: A multi-flowering species tulip, producing up to 4–5 blooms per stem, perfect for creating a bold splash of color in smaller spaces.
- Tulipa gregii ‘Red Riding Hood’
- Height: 20–30 cm
- Bloom Color: Scarlet red with dark mottled leaves.
- Notes: A striking tulip with unique foliage, it thrives in smaller gardens and naturalises well.
- Tulipa fosteriana ‘Purissima’/’White Emperor‘
- Height: 30–40 cm
- Bloom Color: Pure white with a hint of cream.
- Notes: A fosteriana hybrid, it combines beauty and perennial reliability, blooming early and pairing well with other spring bulbs.
Note that besides the perennial qualities, your success in getting tulips to come back also depends on the suitability of the variety to the other conditions, such as light and soil type, of your chosen location. Keep those in mind when you go through this list (or any other) on the quest for the most reliable spring display for your garden.
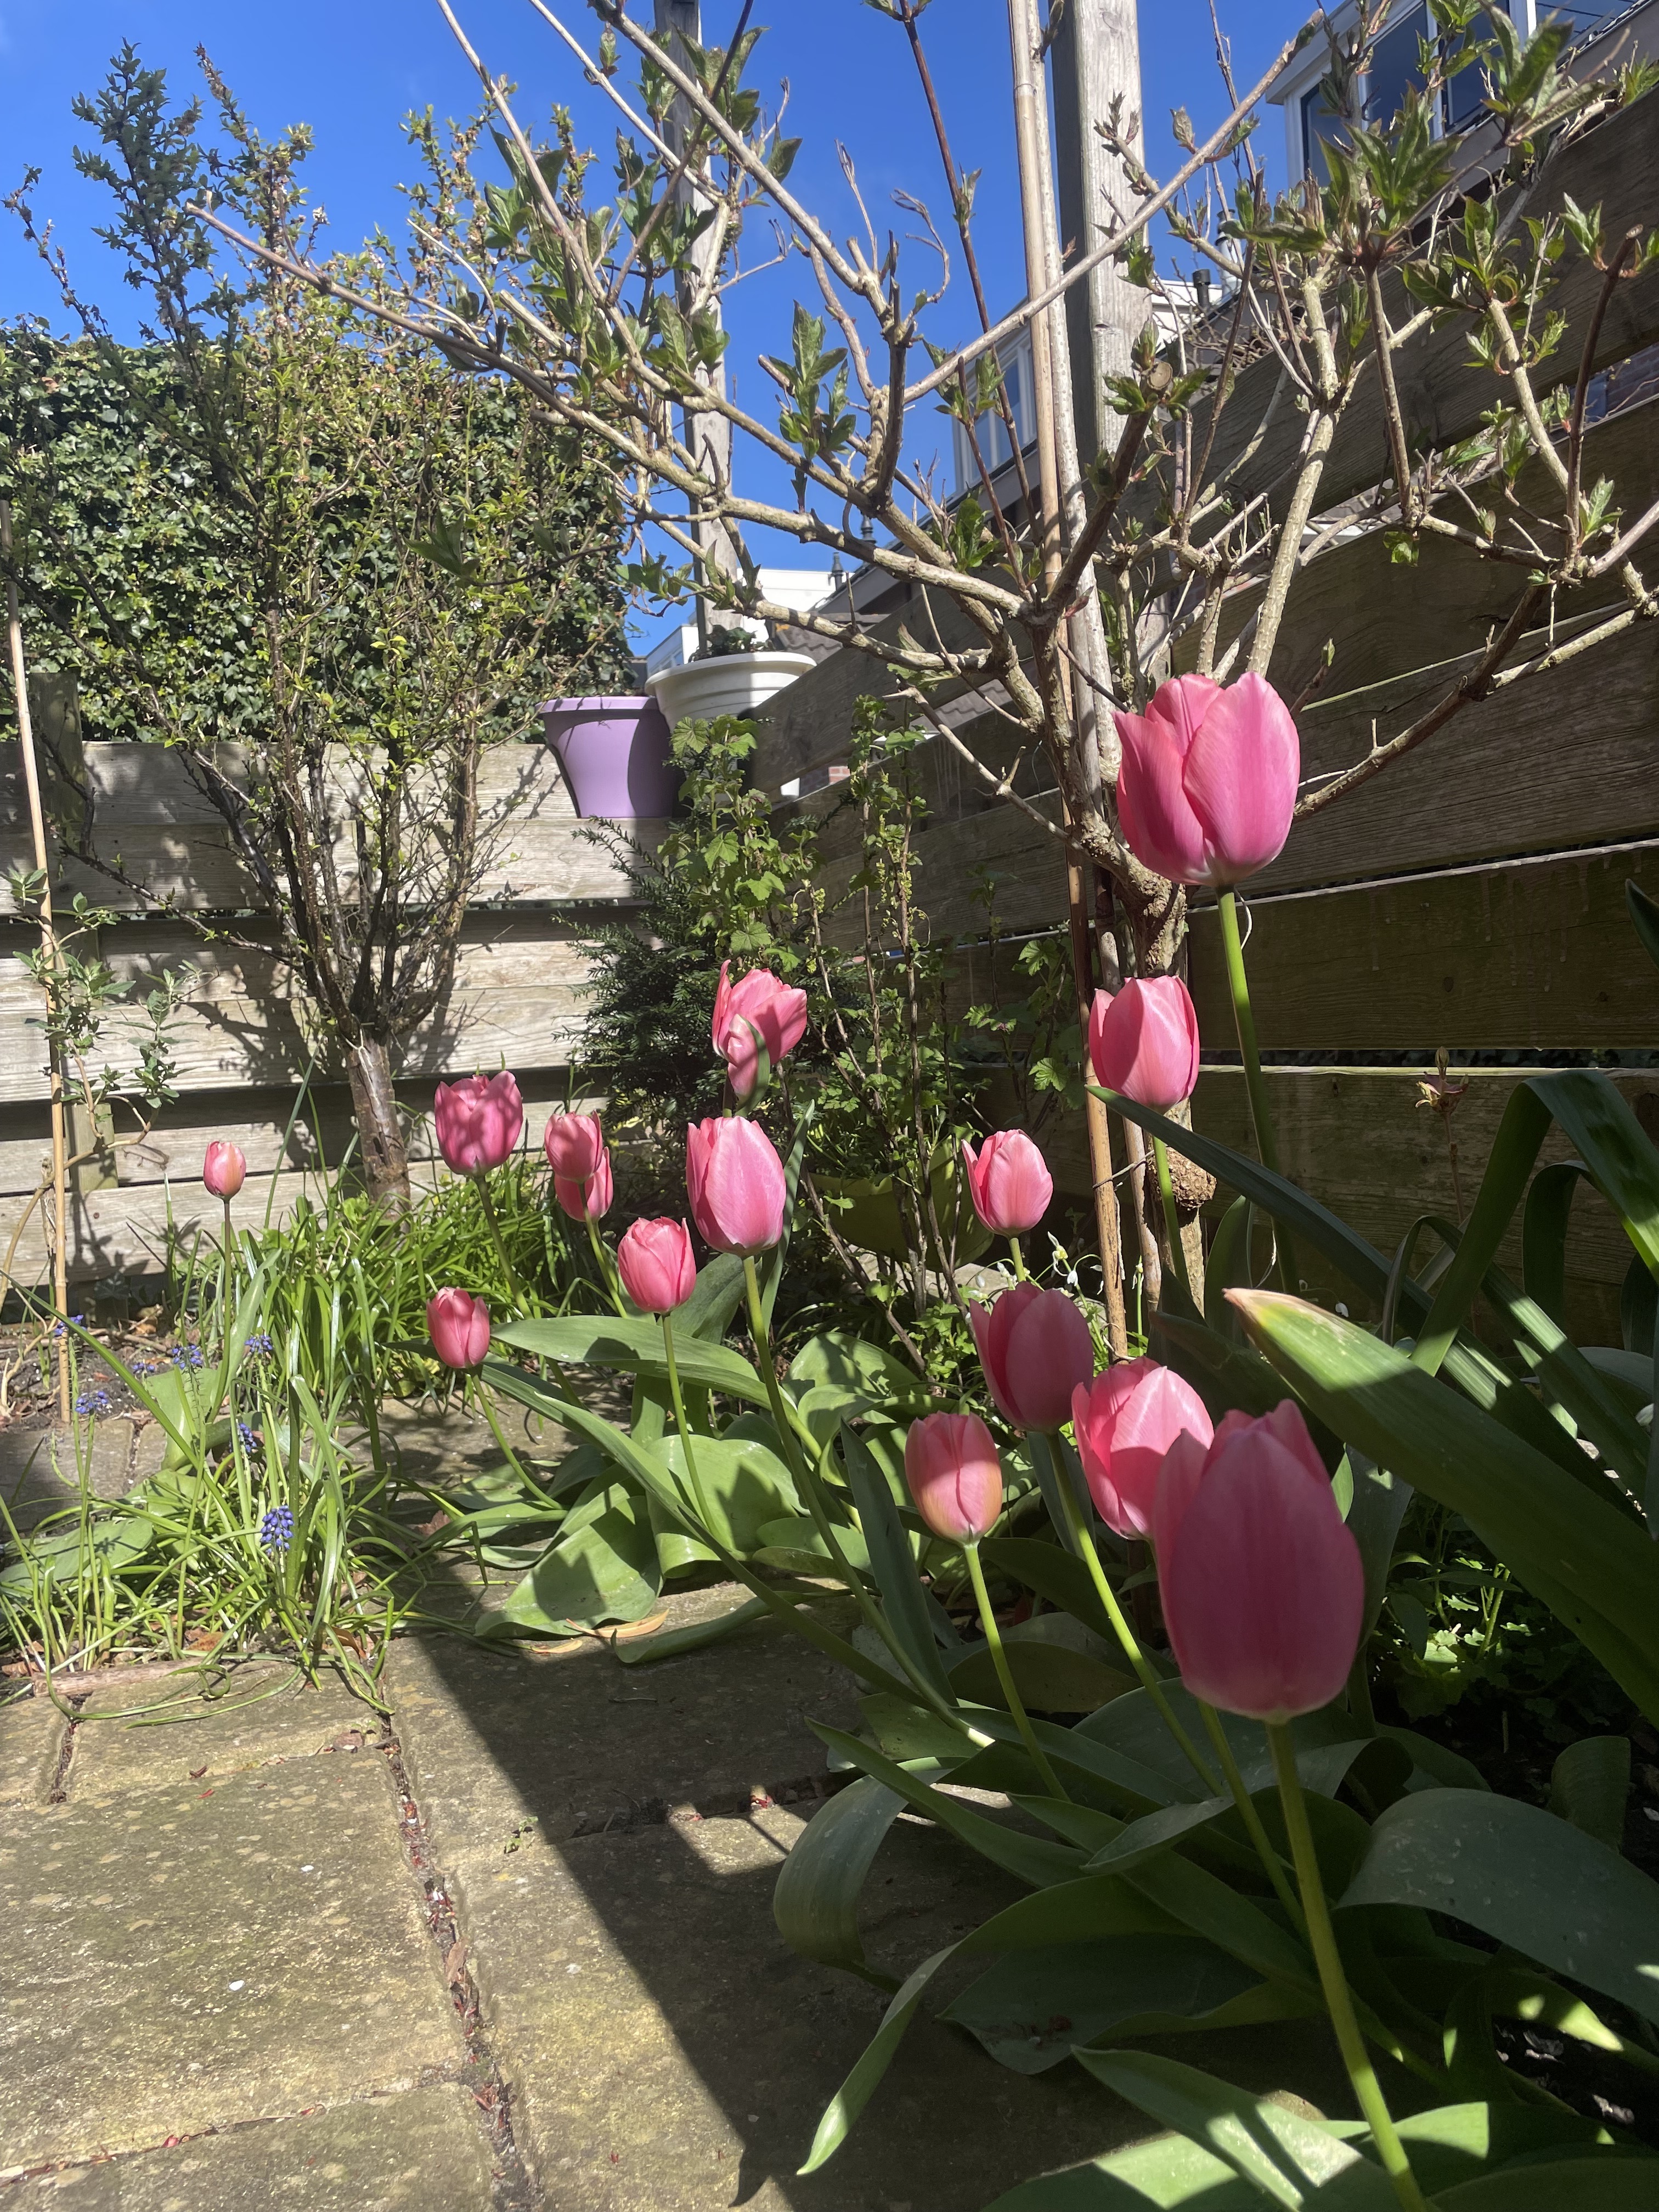
Practice Proper Care Before, During and After Blooming
Caring for your tulips before, during, and after they bloom ensures they’ll return the following year.
Your care focuses on replenishing the energy in the bulb, so it has plenty reserved for the following spring. You achieve the energy build-up by nurturing the tulips when needed while letting nature do her job at other times. The standard care includes:
- protecting newly planted bulbs from the harshest winter periods: planting the bulbs at the appropriate depth and providing extra protection during serious frost, like covering the soil with leaf mulch or moving tulip containers into a shed
- feeding and watering during active growth: feed plants weekly with a potassium-rich liquid fertiliser and water during dry weather
- allowing the leaves to die back naturally after flowering (but cutting off the flower stalk to avoid all energy used for forming seeds)
Some extra things you could do to increase the chance of returns are:
- digging up bulbs after a few years, discard smaller ones that are less likely to flower and move the rest to a new spot as diseases might have been built up in the previous site
- moving bulbs from containers to the ground to give them extra room to spread and naturalise
- lifting, drying, and storing tulip bulbs over the summer for a little rest before planting them again in the autumn
Disclaimer: These care routines are set up according to the plant’s needs during its natural growth cycle. Still, they are in no way the magic potion with guaranteed results. I have tested all these techniques during my ten years of growing tulips in a country that, at times, feels like tulips are the only things that matter (aka The Netherlands). My tulips do come back often, but not always.
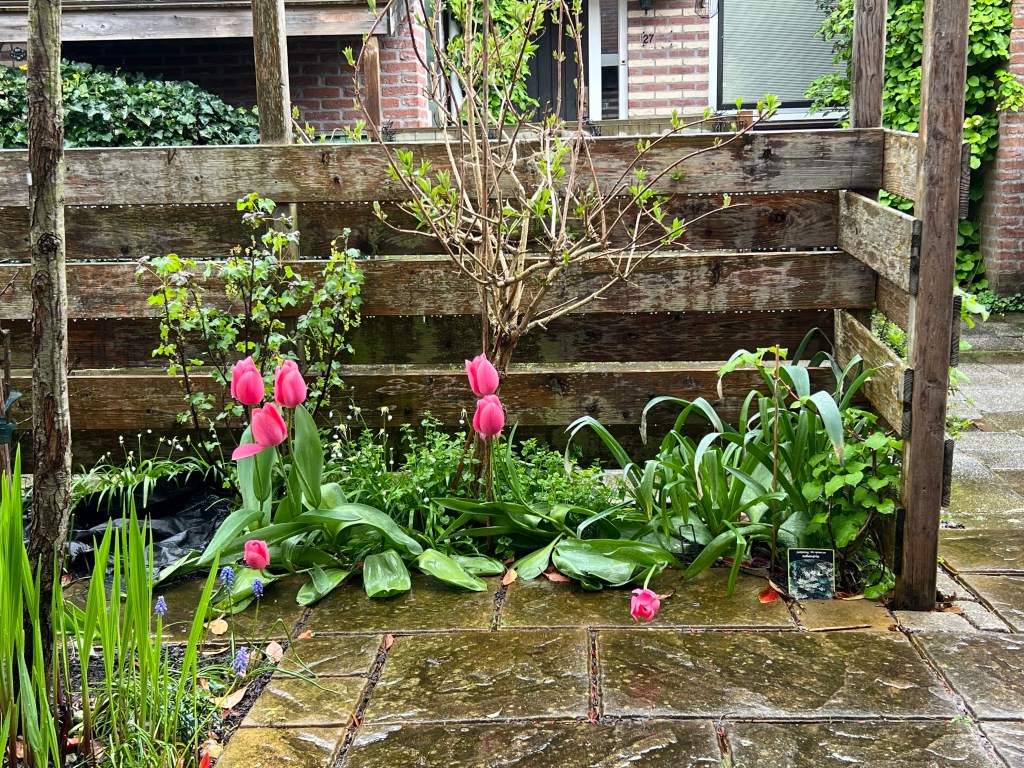
Use Containers Strategically
Containers are your best friend when gardening in limited spaces. This is especially true when it comes to tulips.
Why Using Containers to Grow Tulips?
Firstly, you make use of containers’ moveability. It means the freedom to move your tulips to a sunnier spot in your garden (most perennial species tulips are sun-loving). In the early spring, many deciduous trees are still fairly free of big leaves and canopy, meaning there would likely be sunnier spots in your garden in March and April (than later into spring and summer).
Secondly, it is often easier to achieve an impressive display with a container than in the open ground without having to buy and plant loads and loads of bulbs. With their slender stem and (mostly) singular flower, tulips look best en masse. The confine of a container help to create the impression of “plenty”.
So, done with the Why, enter the How:
How To Use Containers to Grow Tulips
- Choose deep-enough containers
The chosen containers should be deep enough for proper root development and insulation from temperature extremes. It would be best to have a certain soil depth above and below the bulbs. The specifics depend on the tulip varieties, the number of bulb layers (see lasagna methods below), and the harshness of your winter.
When in doubt, use a slightly deeper (and bigger) pot you can spare. (The width of the pot also helps with insulation).
If you plant one layer of tulips in a fairly cold area (with frequent frost during the winter), aim for a container at least 18-inch deep to protect your bulbs and provide room for the root to develop fully in the spring.
- Use loose, nutrient-rich, well-draining soil for potting mix
Tulip bulbs don’t like to sit in soggy poor soil! It might be tempted to fill tulip containers with some highly available garden soil, but don’t.
You would get a much better result with potted tulips using a high-quality potting mix with added sand or perlite to improve drainage. Don’t forget to add a slow-release fertilizer when planting to provide a nutrient boost for strong root development.
The stronger and better-fed the roots, the more energy the bulb will have and the more likely your tulips will return the following spring.
If you are enjoying this post, you might also appreciate our FREE cheat sheet with 12 Tested Gardening Ideas for Small Spaces.
Provide your info for a link to the downloadable resource and be opted into our email list for the (very) occasional product promotion.


Plant Densely but Smartly
Make the most of your limited gardening space by planting bulbs closer together.
When space is tight, you can plant tulip bulbs closer than the recommended 4-6 inches (10-15 cm). A spacing of about 2-3 inches (5-7 cm) is fairly reasonable (even if not optimal). In containers, you can plant the bulbs much closer for a more impressive display (though make sure they don’t touch each other).
Planting bulbs closer to each other creates a fuller display but requires careful attention to soil health. (Ensure you’re using nutrient-rich, well-draining soil with added slow-release fertilizer to support the crowded bulbs).
You can also plant densely vertically. The technique is referred to as layering or the lasagna method.
The lasagna method: Layering bulbs of different bloom times at different depths to plant more tulips in one spot and enjoy staggered flowering.
The layering order is based on the size of the bulbs: the largest ones first in (the deepest level), then up to the top of the space with the smallest ones.
You can also layer tulips with other spring bulbs like grape hyacinth or bluebells.

Leave a comment