Many new (and even experienced) gardeners find seed sowing a process overwhelming yet nonrewarded. The slow germination, leggy seedlings, and unaccounted seed losses make it tempting to give it all up and get seedlings from the nearest garden centre instead.
But let’s not be hasty. In this time of crisis, it’s sensible to take a step back to weigh the benefits against the work involved in growing plants from seeds.
Plants grown from seeds cost you less, adapt better to your space, and fit your schedule.
That is true most of the time and for many plants.
Cost Saving
- A pack of multiple seeds is often the same price (or significantly less) as a young seedling.
- You can cut seed costs further by sharing a packet with a friend if you don’t need the whole packet in one growing season.
- Free seeds can be saved from the previous year’s plants, whether yours or another gardener’s.
Even if your small garden can only house a couple of certain plants in one growing season, buying a seed pack still has its cost benefit. For example, you can share seeds (and the cost) with a friend or save half for sowing next year. (Quality seeds can often be kept for multiple years, providing proper storage.)
Adaptability
The younger a plant, the easier it is for it to adapt to a space, especially if the space is a small gap between two established shrubs, for example.
Small-space gardeners often find themselves having to squeeze new additions into this edge or that corner. We don’t have an unlimited choice of ideal locations for yet another sun-loving and space-demanding plant. Yet, the constraints tend to matter less when the plant is grown from seed.
If you have parented a young child, you probably remember marvelling at your child’s ability to learn something new so quickly (while you struggle). It is the same with plants. The younger a plant is, the more adaptive it tends to be.
On the other hand, a potted seedling from a garden centre might have been in the pot for longer than it should have been, being root-bound and failing to thrive when planted in your garden.
Flexibility
Growing your garden with store-bought seedlings means you depend on the availability at your local garden centre when you visit. You could go home empty-handed and either miss your chance of growing “that plant you want this year” or invest more time hunting in places further afield. (This had happened to me several times this spring alone when I tried to stock some new plants I couldn’t grow from seeds.)

On the other hand, you have a lot more flexibility with planting from seeds. Want an early flower show? Sow the seeds indoors earlier to plant out in spring. Want some plants to overwinter when fresh leaves are rare? Sow seeds much later, approaching the end of summer (when garden centres tend to empty out of seedlings).
Satisfaction
Growing a plant from seeds requires the right knowledge, (plenty of) patience, and, sometimes, a bit of luck. So when you successfully nurture a tiny seed into a full-grown plant, it is hugely satisfactory and often much more so than getting a seedling from a nursery.

How to Grow Plants From Seeds: The Beginner Guide
If you are new to seed sowing, the endeavour could quickly turn into a frustrating experience when you are met with slow germination, leggy seedlings, and a no-show altogether. I’ve been there, staring at empty seed trays and wondering what went wrong. I still occasionally have such experiences with an odd batch of seeds. Yet, I have learned some fundamentals to achieve reasonable success with seed sowing. Stick to these fundamentals, and you’ll be off for a great start.
Start With The Easy-to-Grow Seeds
Not all seeds are beginner-friendly.
Some plants germinate quickly and grow robustly, while others require precise conditions for germination.
If you’re new to seed-sowing, choose the former: reliable, fast-germinated options like peas, sunflowers, and marigolds. These seedlings tend to show up reliably within 10 days of sowing without any special treatment. Seeing them would clear away doubt while building up the confidence to keep going with the seeds.

On the other hand, avoid seeds that are difficult to handle or germinate, such as:
- seeds requiring cold stratification (lavender or catmint)
- seeds that are fussy about the light level during germination (examples from this article)
- seeds that are super tiny and (almost) impossible to sow properly without special tools or techniques
So start with easy seeds. You build up the confidence as you master the basics. Then, you can slowly move up the ladder and experiment with trickier plants.
Put the Seeds in The Right Type of Soil
The easiest option is using a seed-starting mix available at reputable gardening centres. It would generally be light, well-draining, and enriched with compost to feed the sprouting seedlings. Getting some high-quality mix (you won’t need much to start with) will increase your chance of success, starting the domino effect.
As you gain experience, you can try making your own mix using available materials. This is what I do now. I keep my previous year’s potting soil, make my own leaf mulch, and mix them according to the seedlings that would sprout out.
Occasionally, I’ll buy a seed starting mix and save it for the seeds I sow for the first time. This is to avoid the random seeds left in my recycled potting soil popping up among the not-yet-recognizable seedlings to confuse me.
House the Soil and the Seeds In The Most Suitable Medium
There are several options to start your seeds in
- A seed tray with multiple mini seed pots
- Small pots fitting your sunny window sill
- A big outdoor container
- The open ground
They all have pros and cons, but here are some basics for choosing the one that works best for you and the seeds you choose:
- Consider the seed type: Tiny, delicate seeds often do best in seed trays with fine, well-draining soil, while larger seeds can handle direct sowing in outdoor containers or open ground. Check seed packets for specific recommendations for when you are sowing them.
- Control over growing conditions: Seed trays and small pots offer better control over moisture, temperature, and light exposure. Use them to start seedlings indoors (or in a greenhouse) during the colder months before transplanting them outside when it is warm enough.
- Seed trays and small pots need frequent watering, whereas larger containers or the ground hold moisture longer. If you are to go on holiday during the critical seed sowing time, putting them in the ground might be a better option, as most seed trays and window ledge pots would require daily watering (and you won’t be there to do it).
- Space: If you have limited space, small pots or trays are a great choice as they enable you to save the larger containers or the precious ground for other plants until the space is truly needed.
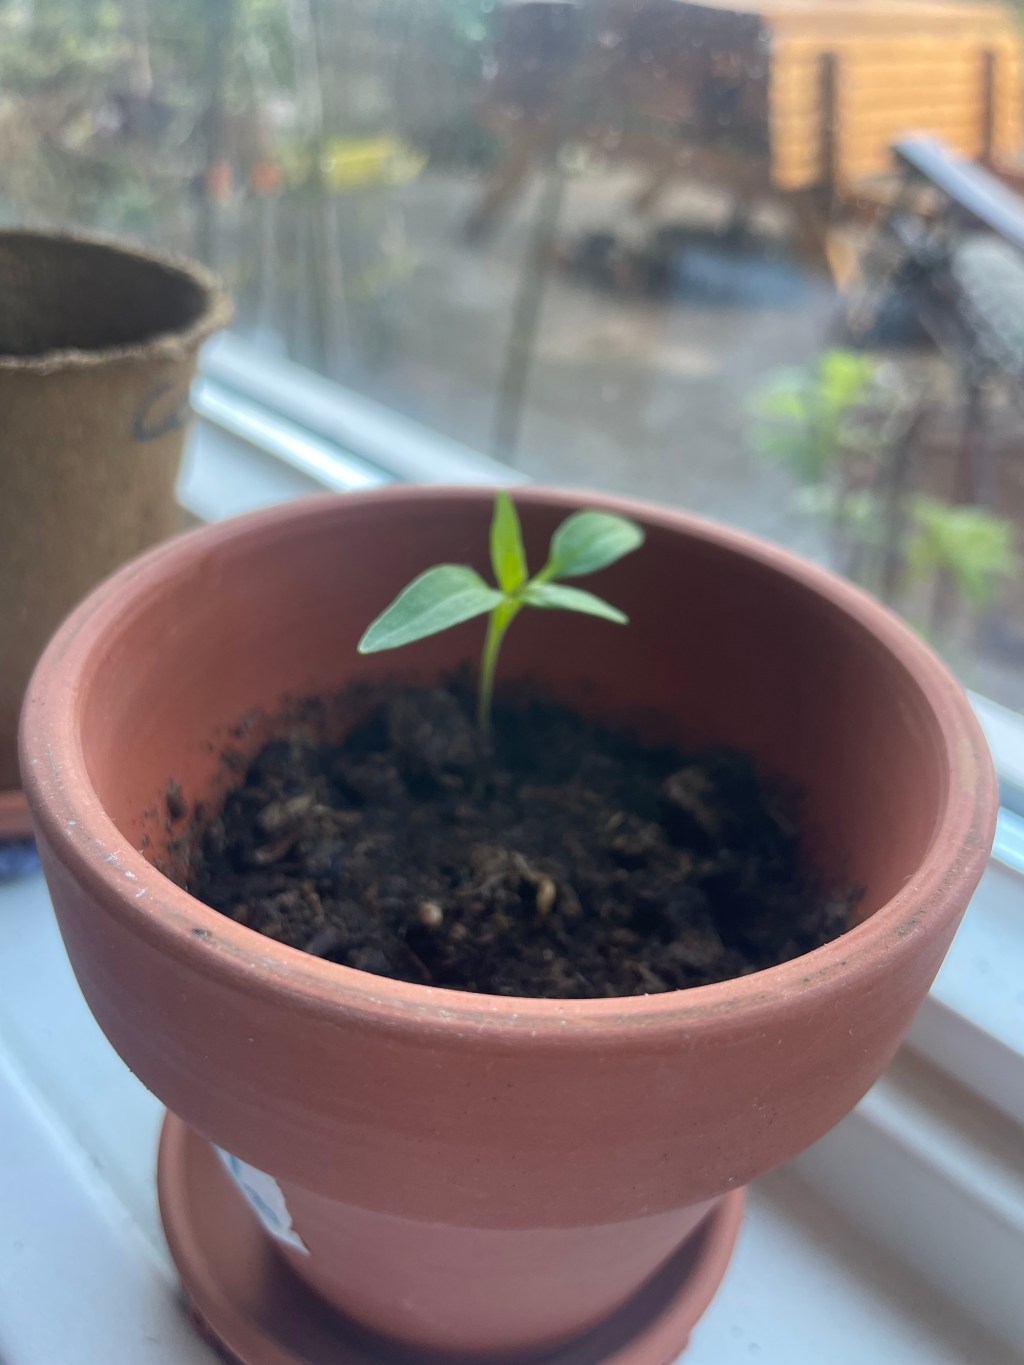
- Transplanting ease: Some plants, like coriander, don’t like transplants, and the shock could kill the seedlings. In such cases, waiting for the right time to sow the seeds directly outside in a big enough pot or in the ground is best. Also, transplanting makes a mess and takes up the time. Suppose you move a seedling from a small pot indoors to a bigger one outside. In that case, you must also factor in the hardening time while not letting your young plant be root-bound as it overgrows the pot. So, some serious planning is required.
In short, sow inside in seed trays or small pots for seeds that you need and can keep a close watch on (light, temperature, and watering) and that don’t mind transplanting. Otherwise, sow them directly outside in big containers or in the ground when the temperature is warm enough for them to thrive (and no transplanting hassles).
If you are enjoying this post, you might also appreciate our FREE cheat sheet with 12 Tested Gardening Ideas for Small Spaces.
Provide your info for a link to the downloadable resource and be opted into our email list for the (very) occasional product promotion.


Moisture, Temperature, and Light
Now, you already have a very good start. The rest is to wait while ensuring the ideal moisture, temperature, and light. This mean:
- Keep the seeds consistently moist but not completely soggy all the time. A spray bottle is your best friend at the early stage. Seed trays sometimes come with a humidity dome that you can use to retain moisture. Make sure you remove them now and then to prevent mould, though.
- Most seeds germinate best at 18–24°C (65–75°F). So, placing your seed trays inside a heated room or on a heat mat can quicken germination. If you are germinating outside, a fleece to cover the seeds at the beginning or during a sudden cold spell would sometimes mean the difference between success and failure.
- Light is an important factor. Without enough light, seedlings turn legging and weak. If you germinate your seeds indoors, put them in your sunniest window sill (a south-facing one). Use LED grow lights to provide extra light if/when needed.
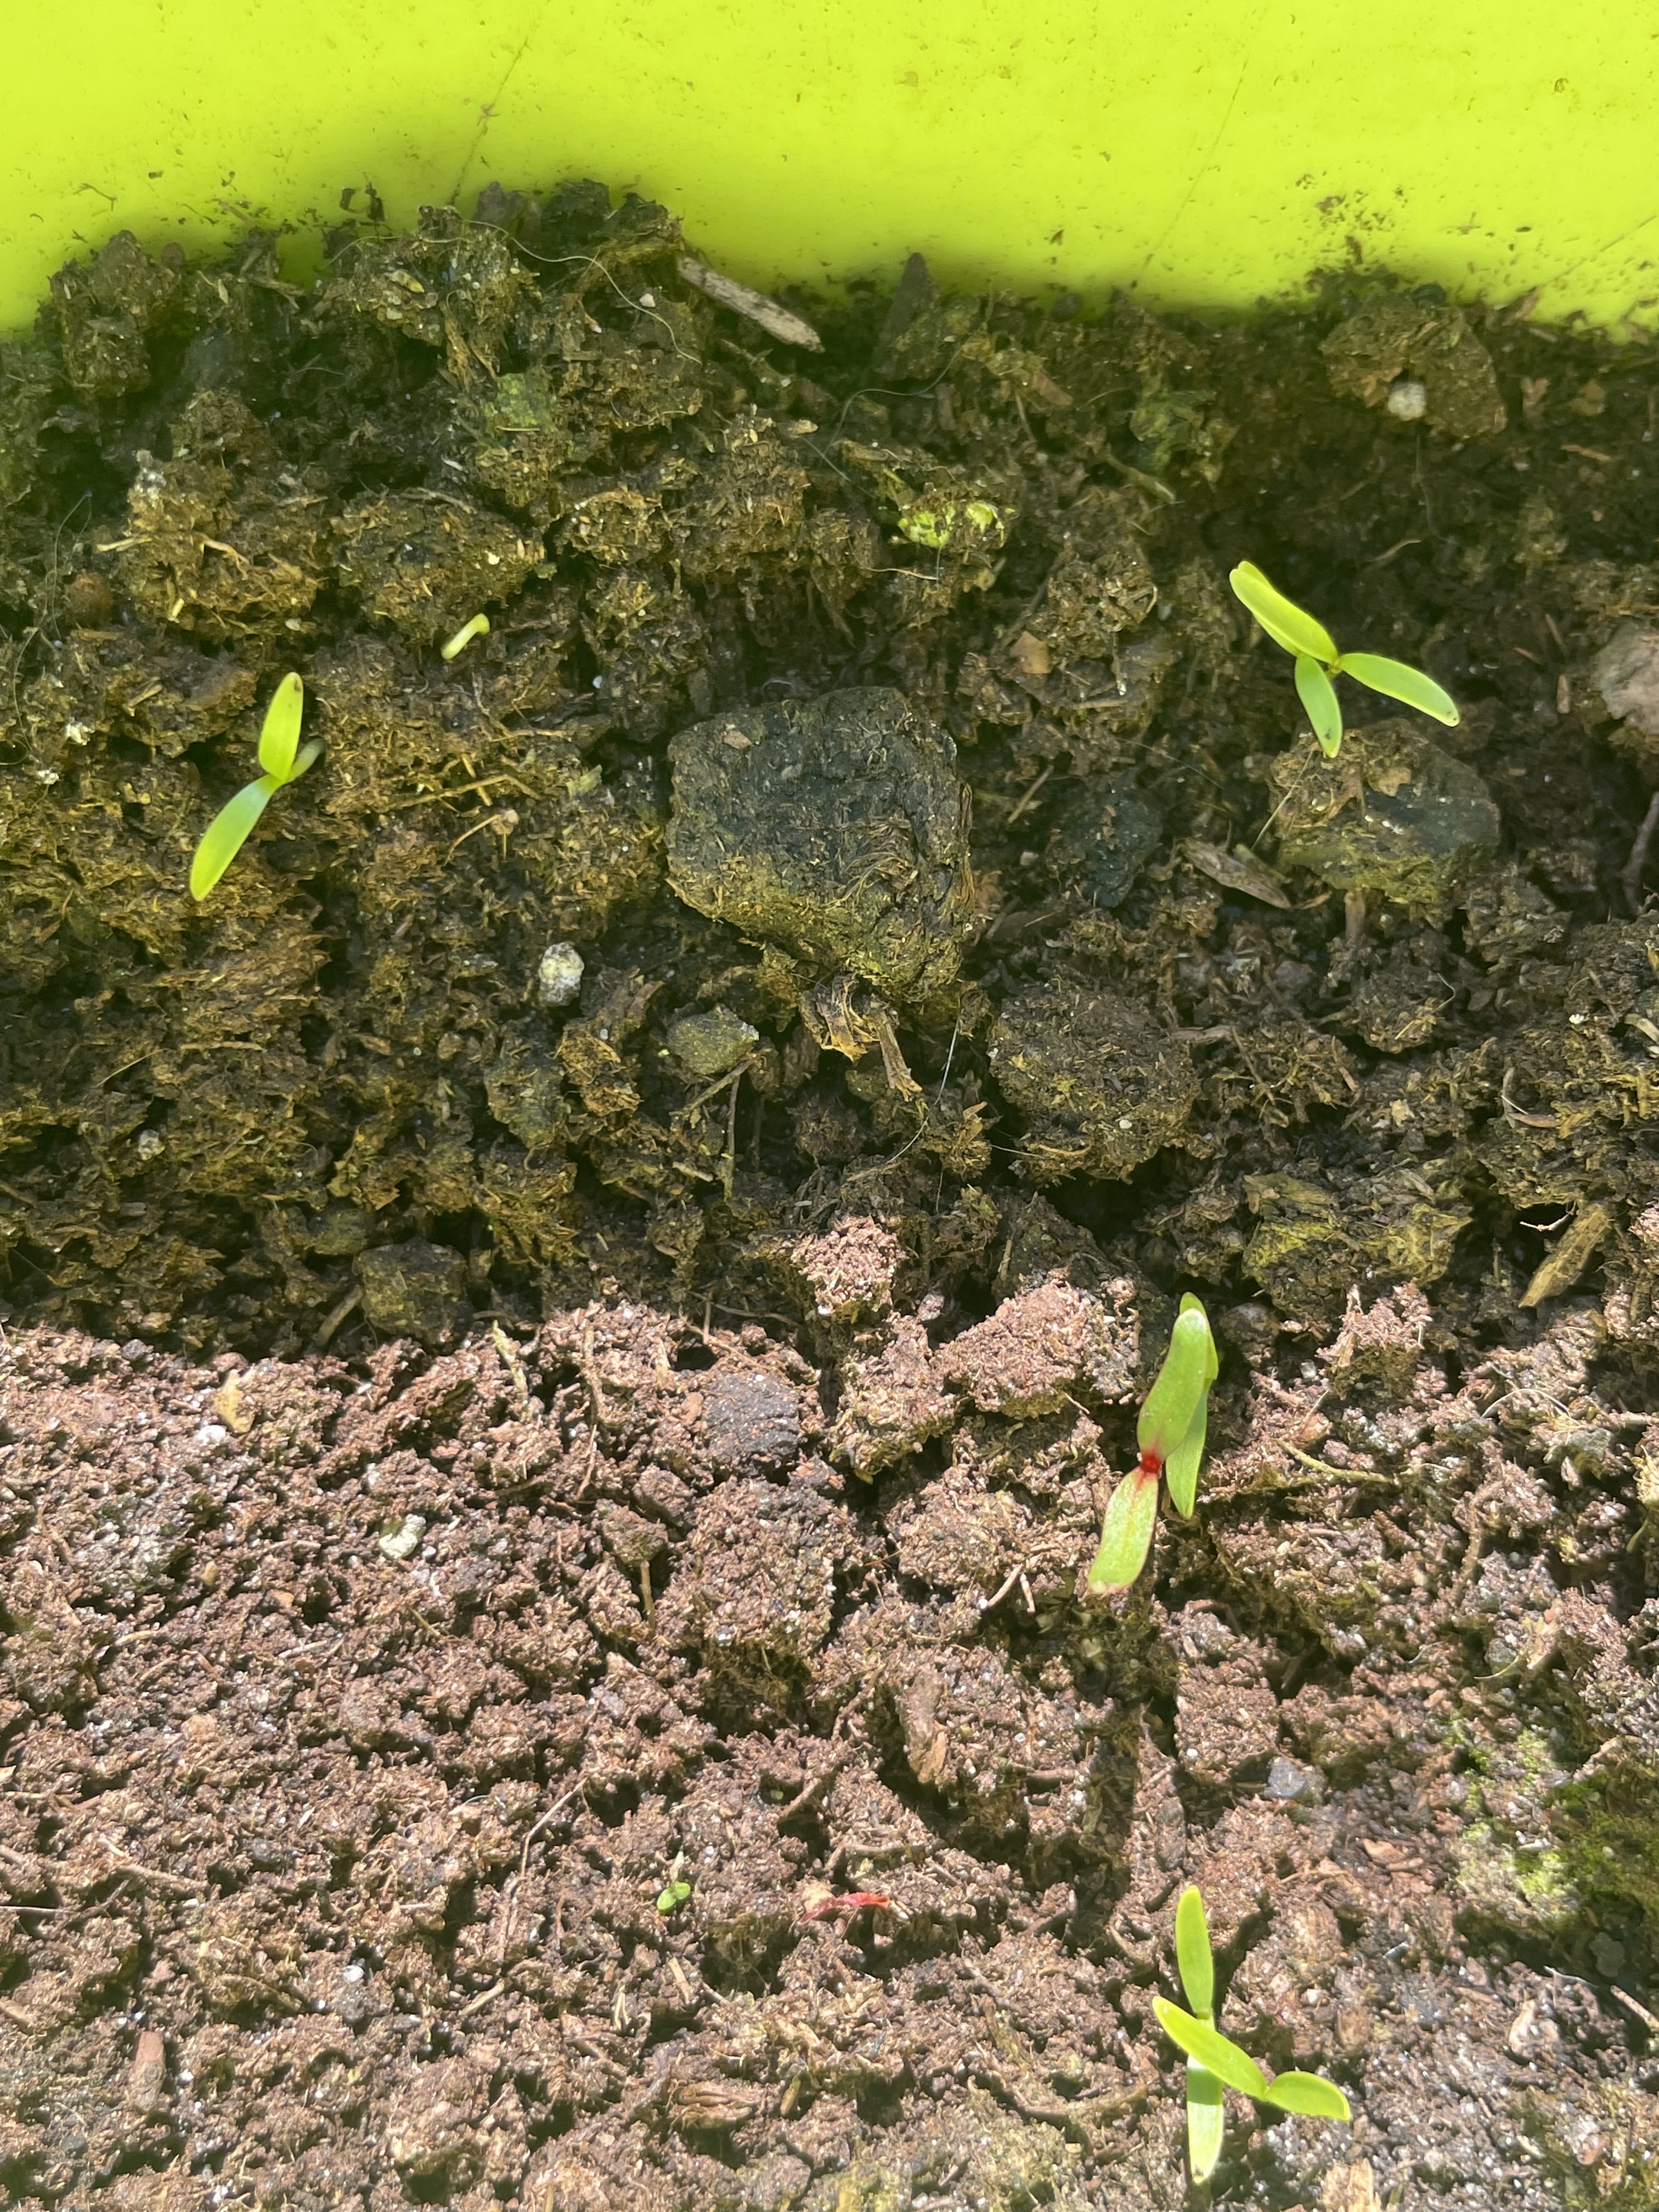
Maintaining a proper level of these three, you will most likely have strong seedlings sprouting out everywhere. Soon enough, it will be the time to thin and/or harden seedlings into strong plants. It will be so much fun!

Label Everything and Keep Track
Lastly, keep track of all that goes into the soil. Your future self will thank your today self later (rather than trying to pull your hair out at the failed attempt of figuring out which is which).
- Use wooden sticks (I save ice cream sticks for these) or kitchen tape to mark each pot.
- Keep a simple notebook (or digital notes) with germination dates and observations to track what works for you in your space. We have a plant inventory journal you can use for this task.
Remember that it is tempting to sow many seeds as soon as the suggested time in the guidebooks arrives. But resist it. Don’t overwhelm yourself with too many varieties at once. Instead, focus on a few favourites and expand as you gain experience. Sow things in batches to stage your harvest while having time to document the process and learn from the mishaps.
Bonus: Seeds to Sow in April (or May)
Many seeds can be sown directly in the ground from April as the night temperature increases and the sun makes its appearance for more hours in this northern part of Europe.
Of course, April days can be very cold (and snowy). The Dutch have a saying:” April doet wat hij wil,” referring to this month’s erratic weather pattern.
Nevertheless, I do most of my sowing outdoors in April. Maybe I’ll lose a batch or two. Perhaps I have to cover the ground for a few days. It doesn’t matter. No pain, no gain, right?
Anyway, I have a suggestive table of seeds that you can sow outdoors from April. Try these plants out and take note for years to come of what works and what doesn’t in your microclimate:
| Carrots 🥕 | Coriander | Pot Marigold 🌼 |
| Poppies | Dill | Basil |
| Beetroot | Sorrel | Borage |
| Radishes | Nasturtium | Cosmos |
| Garden peas 🫛 | Sugar snap | Sweet peas |
| Chicory | Parsley | Chamomile |
| Cucumber 🥒 | Sunflower 🌻 | Lettuce |
| Chives | Echinacea | Spring onion |
| Cornflower | Swiss Chard | Courgette |
| Bush beans | Rocket | Sage |
Extra Bonus: I have many extra seeds of the plants in bold, as I tend to have more seeds than space. I would rather someone use them when they are new. So, if you live in the Netherlands and want some of these seeds, send me an email with your address before the end of the month, and I will post them to you. My gift.

Leave a comment