This year, I fell in love, again, with growing bird’s eye chillies. My experiment to grow chillis up north started more than a decade ago, on a sun-soaked balcony. But somehow, from a city flat to a surbuban dwelling, I lost the momentum until a push arrived in the form of my father.
He came to visit the new house for the first time last year. As we both love plants, my Dad and I took the opportunity to sow whichever Vietnamese vegetables and fruits that we could think of. Bird’s eye chilli was one of them.
Because the visit was in June, there was not enough time for the chillies to ripen within that first growing season. (In this part of Europe, the summer heat is not that intense, and the autumn chill comes way too early.)

I couldn’t face composting the bird’s eye chilli plants that my Dad grew from seeds after merely four months, so I took them indoors and tended to them through the Northern cold, dark winter days.
Fast forward to September this year, and I’ve got the biggest reward.

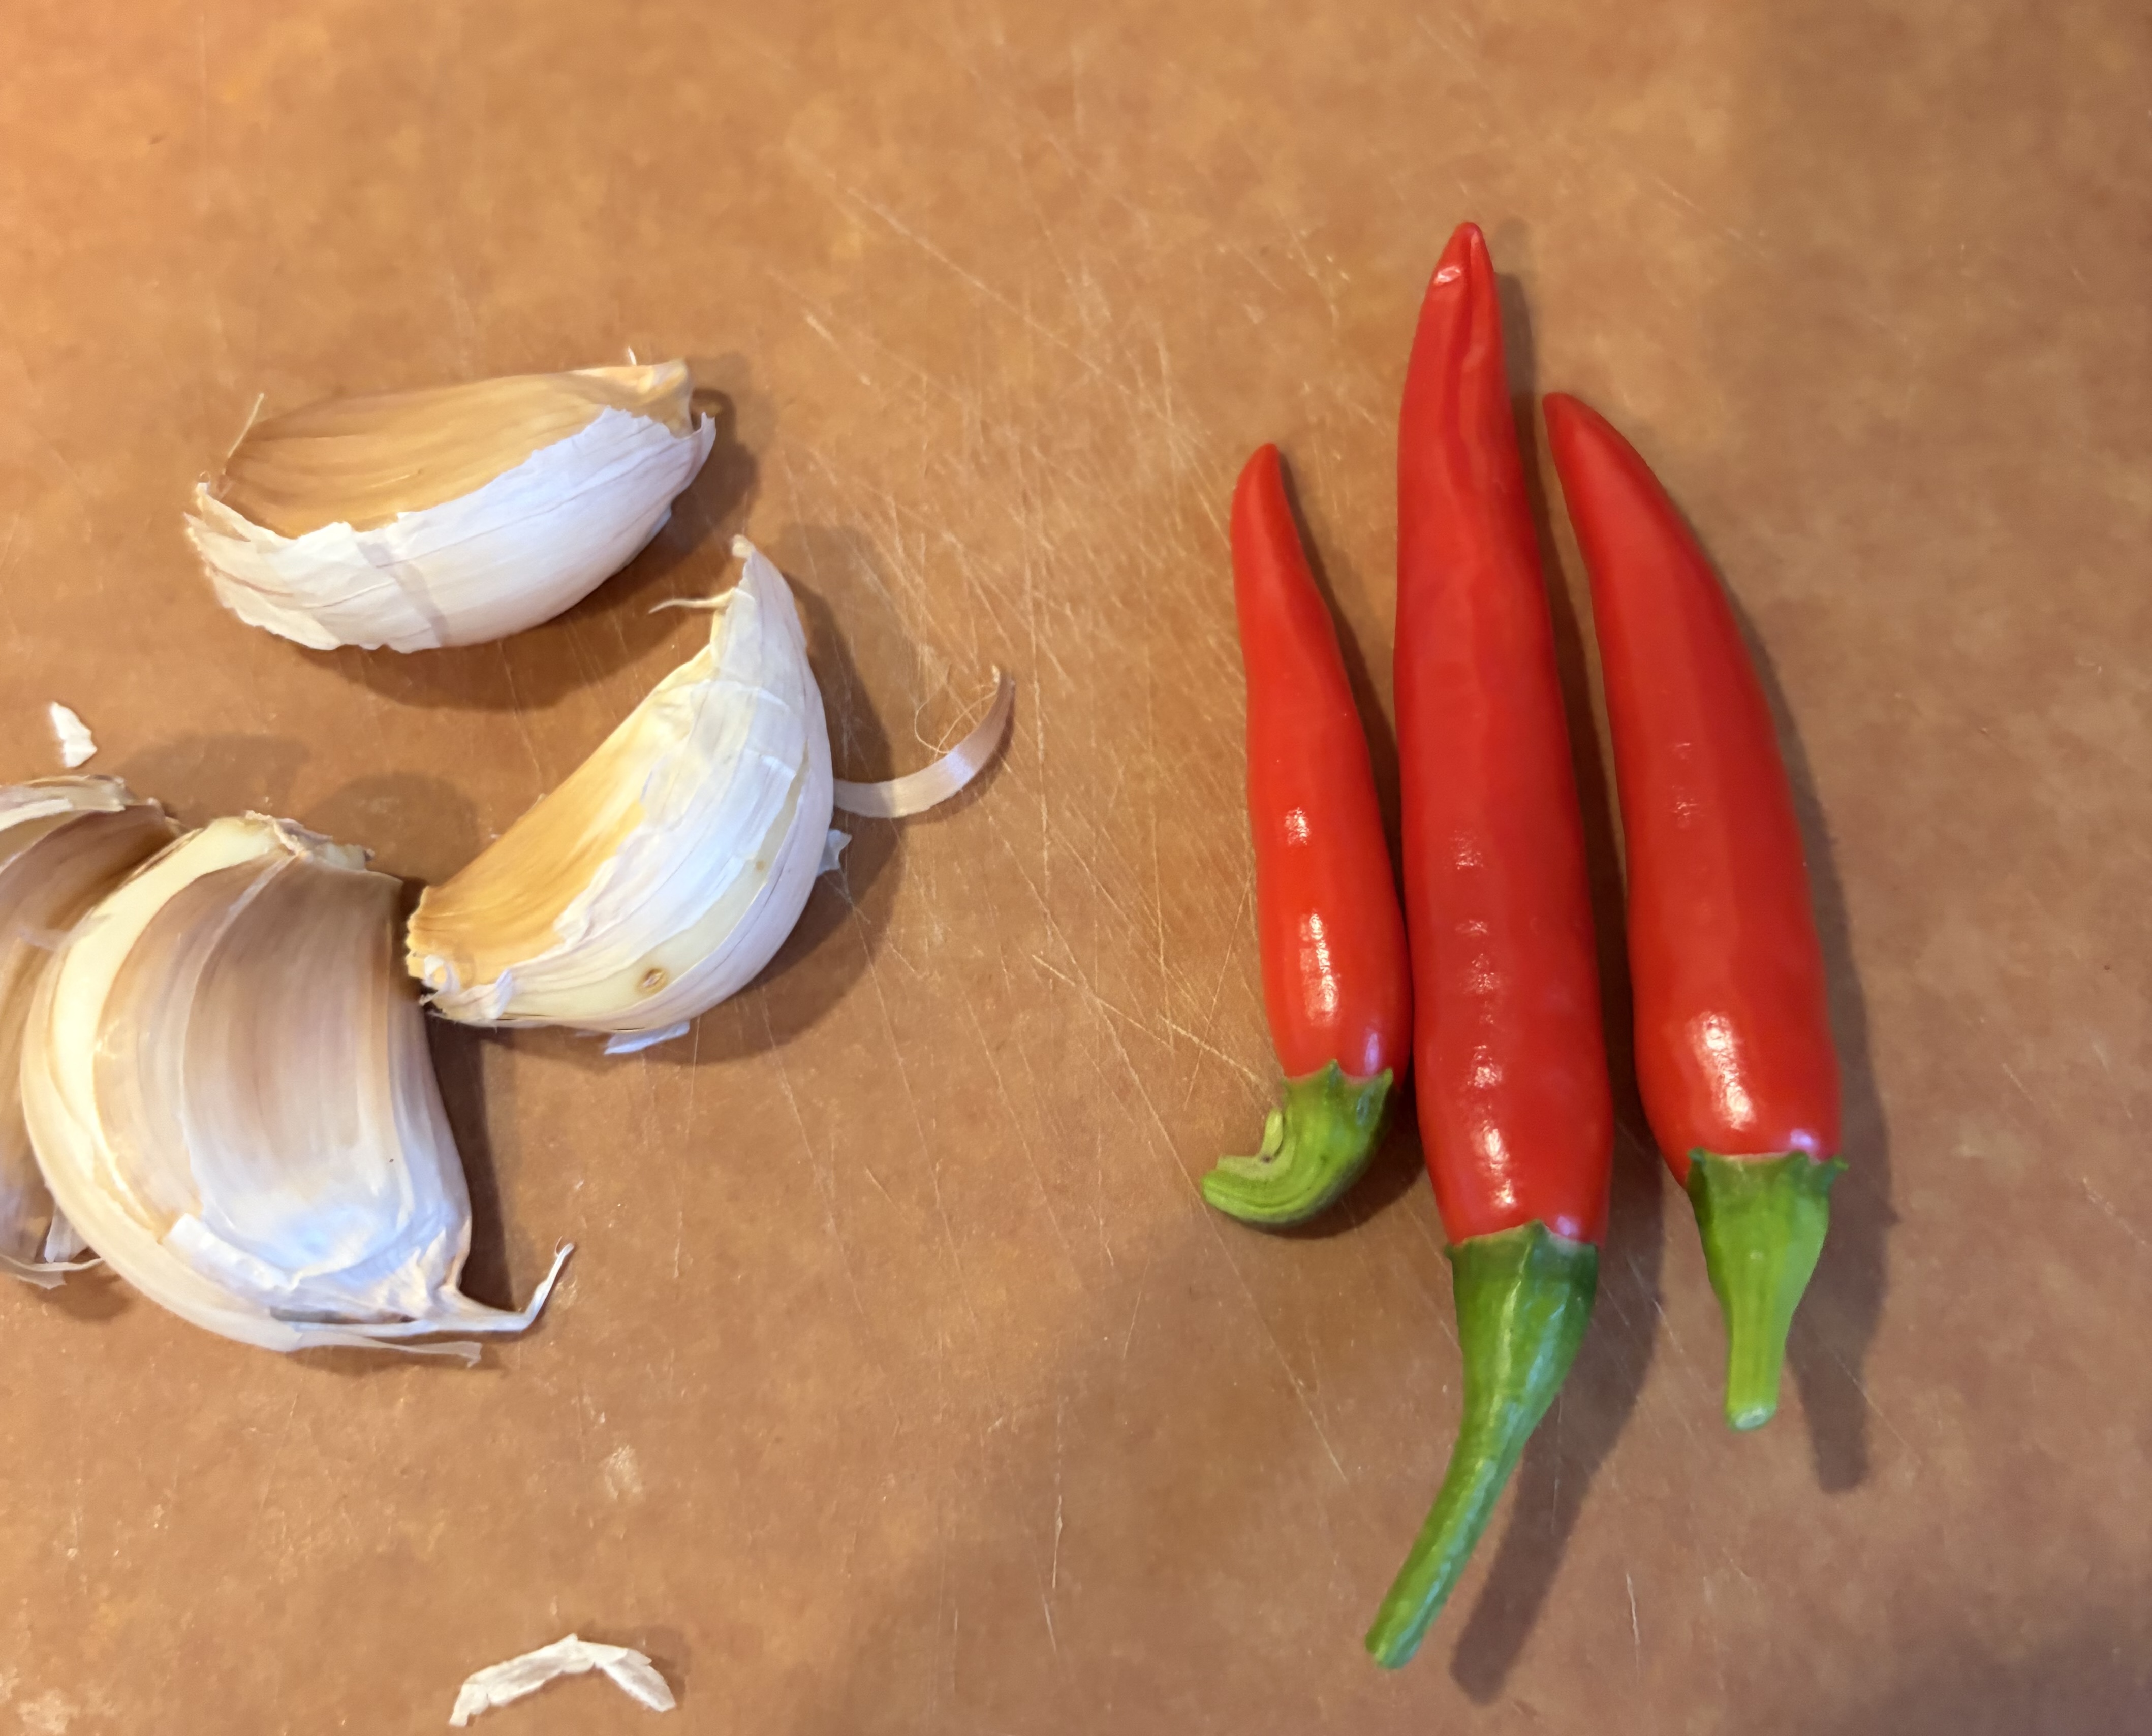
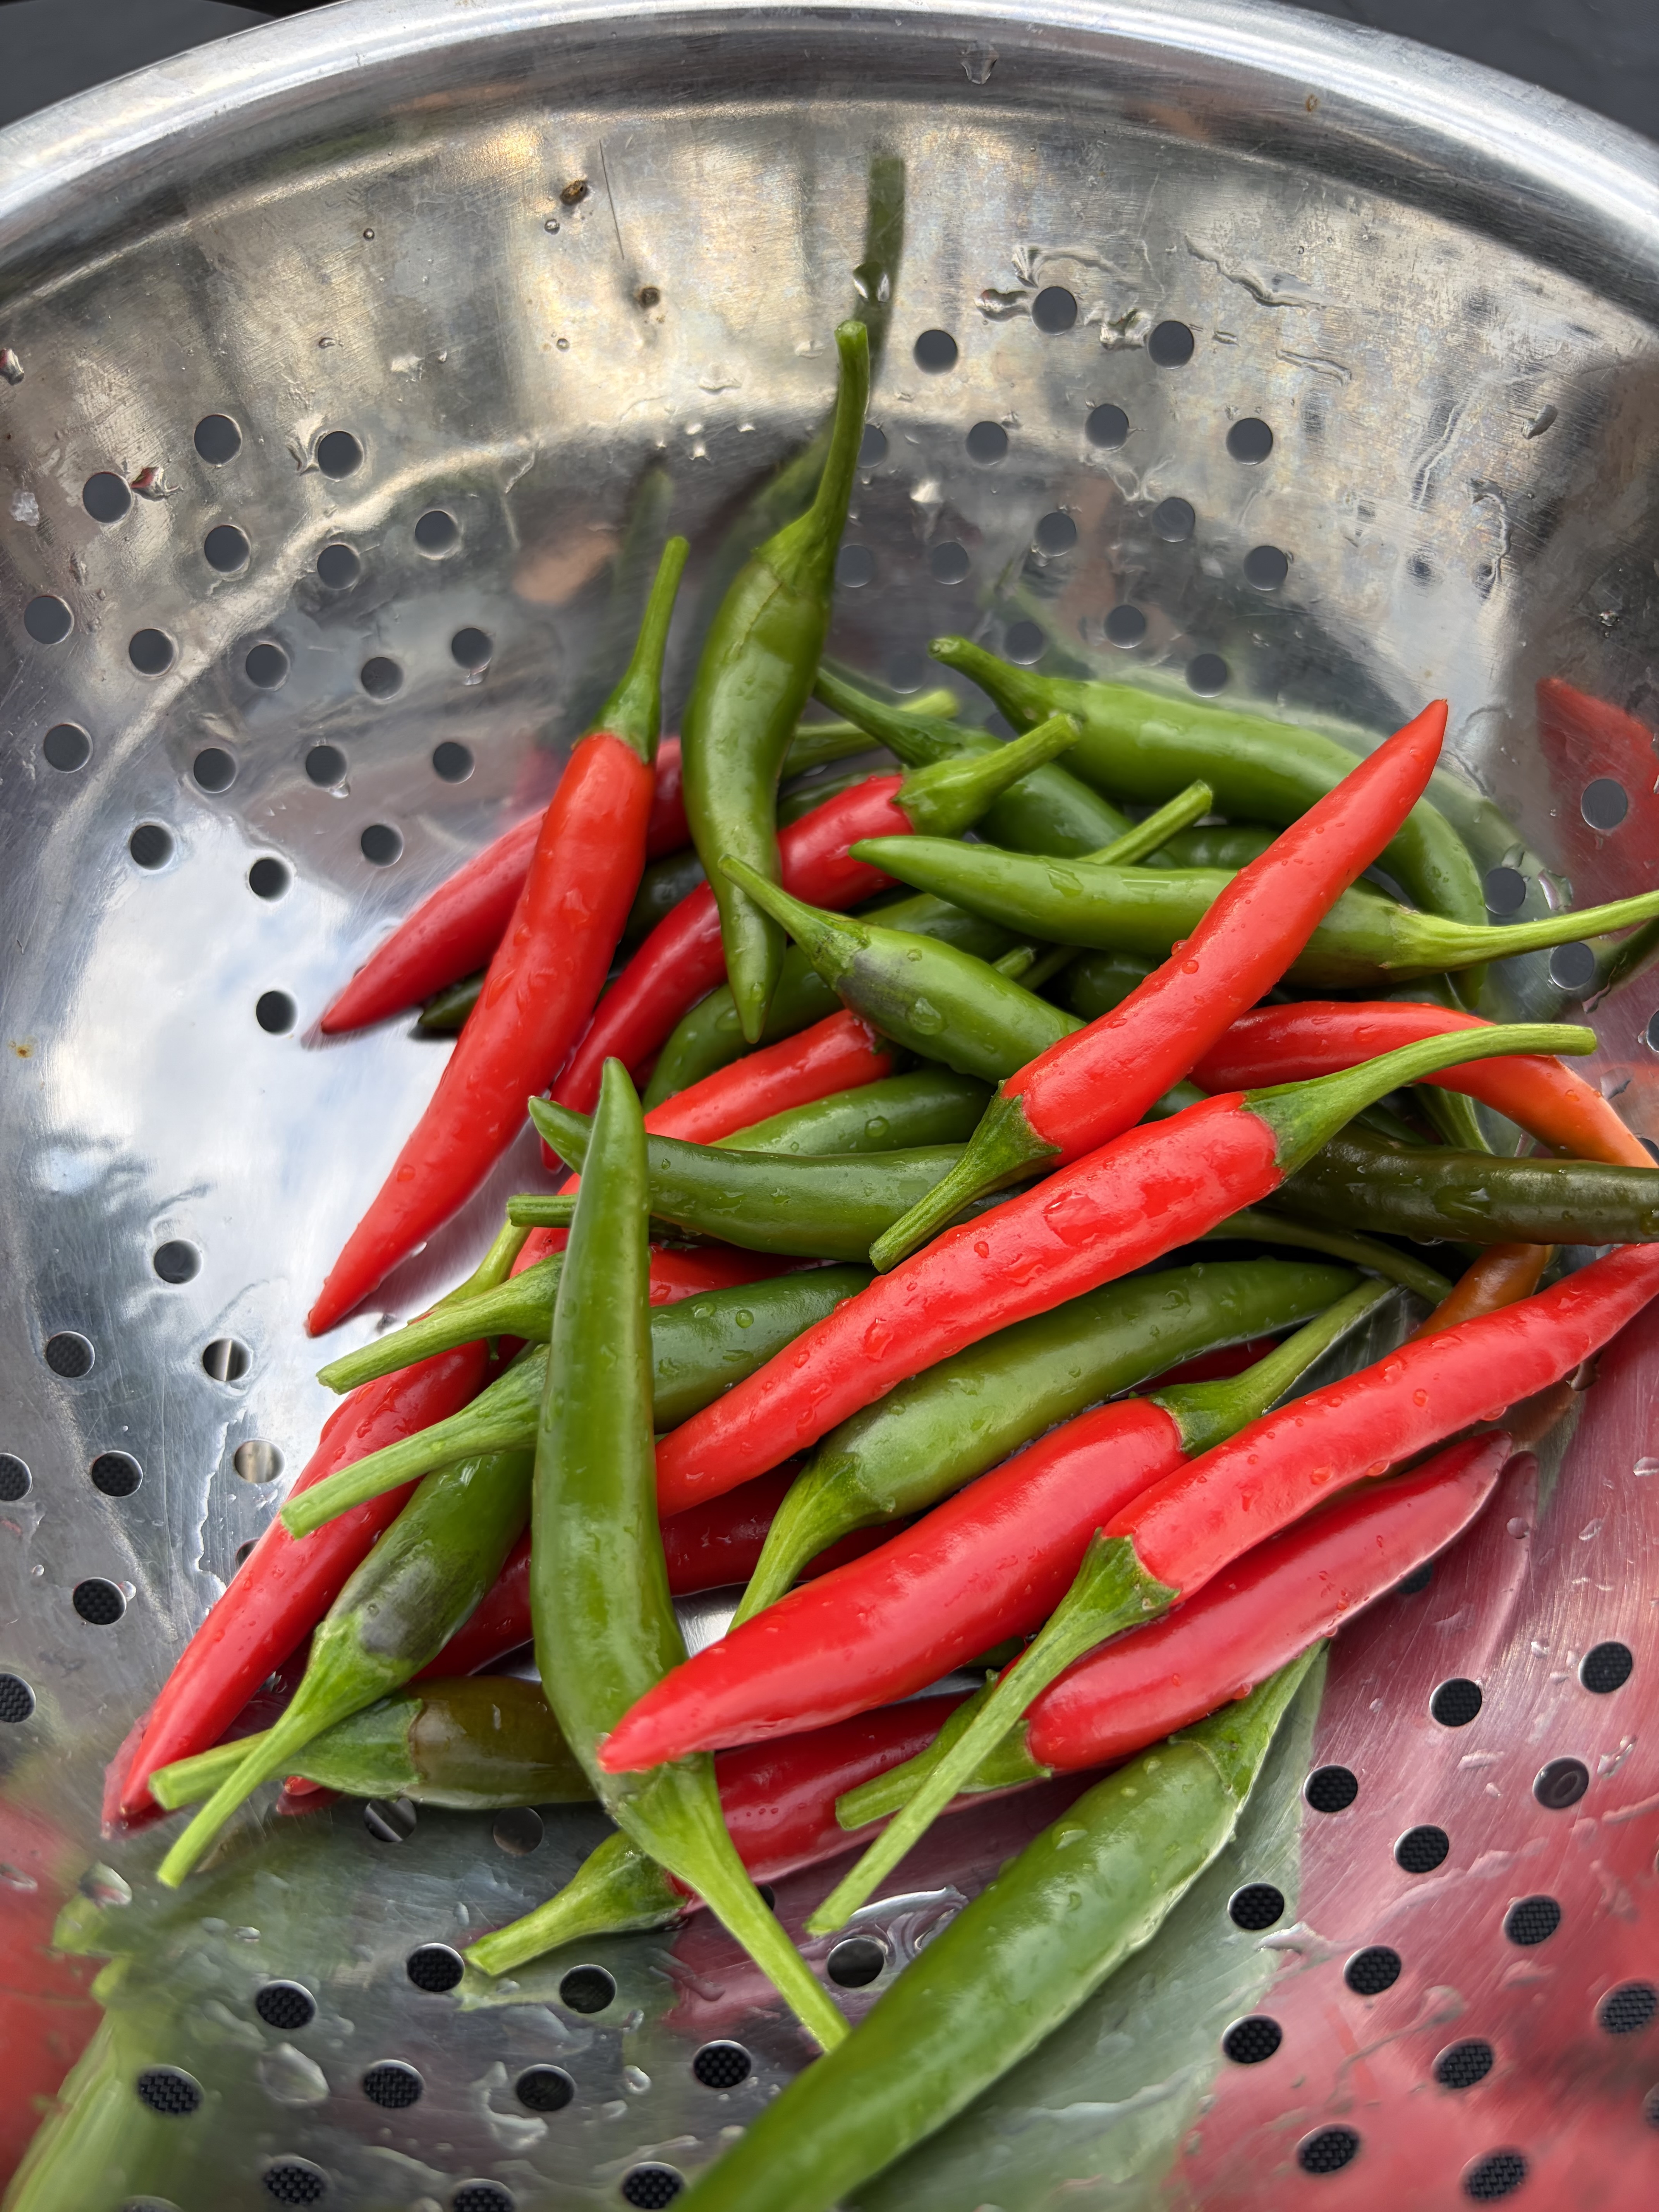
Compact, ornamental, and wonderfully productive, bird’s eye chillies are the perfect plant to grow if your gardening space is limited. These tasty chillies are used in many dishes in Vietnam (and across South East Asia). The red ones have quite a bit of heat, while the green ones lend a lovely peppery flavour to your dish.
A quick glance (or tl; dr)
- Preferred Soil: Well-drained, fertile soil enriched with compost and slightly acidic to neutral pH (6.0–7.0).
- Preferred Place: Full sun and warmth; thrives in greenhouses, sunny patios, or warm garden spots.
- Edibility: Very hot, small chillies can be used fresh, dried, or in sauces and pickles.
- Prune Tips: Pinch out growing tips when plants reach 20–30 cm to encourage bushiness and more fruiting branches.
- Harvesting Notes: Pick chillies when fully red for maximum heat, or earlier while green if a milder flavour is preferred.
If you live in the Northern Hemisphere with a relatively short and cool summer, you can still grow bird’s eye chillies. You just need to plan ahead and make some adjustments. Read on for steps to get around the lack of prolonged heat and grow healthy, fruiting bird’s eye chillies up north.

How to Start
Grow from Seed
Bird’s eye chillies (Capsicum frutescens) need a long growing season. Consequently, northern growers with a short cool summer should start early to give the fruits enough time to mature.
The key to making it work: sowing seeds indoors from February to early March, when daylight begins to lengthen.

Use a seed tray or small pots filled with light, moist compost. Chilli seeds love warmth — ideally around 25°C (77°F) — so place them on a sunny windowsill, heated mat, or in a propagator. Germination can take anywhere from 10–21 days.
Once seedlings have developed two sets of true leaves, pot them up individually into 7–9 cm pots. Keep them indoors or under cover until nighttime temperatures stay above 10°C.
Alternatively, you can start by propagating from an established bird’s eye chilli plant. This is a quicker route once you already have a plant or know someone who does. See Propagating for the steps (and timing) of propagation.
The Soil
Chillies love fertile, free-draining soil. Use a mix of multi-purpose compost with added perlite or grit to improve aeration. A handful of well-rotted compost or worm castings at planting time gives them a nutrient-rich start.
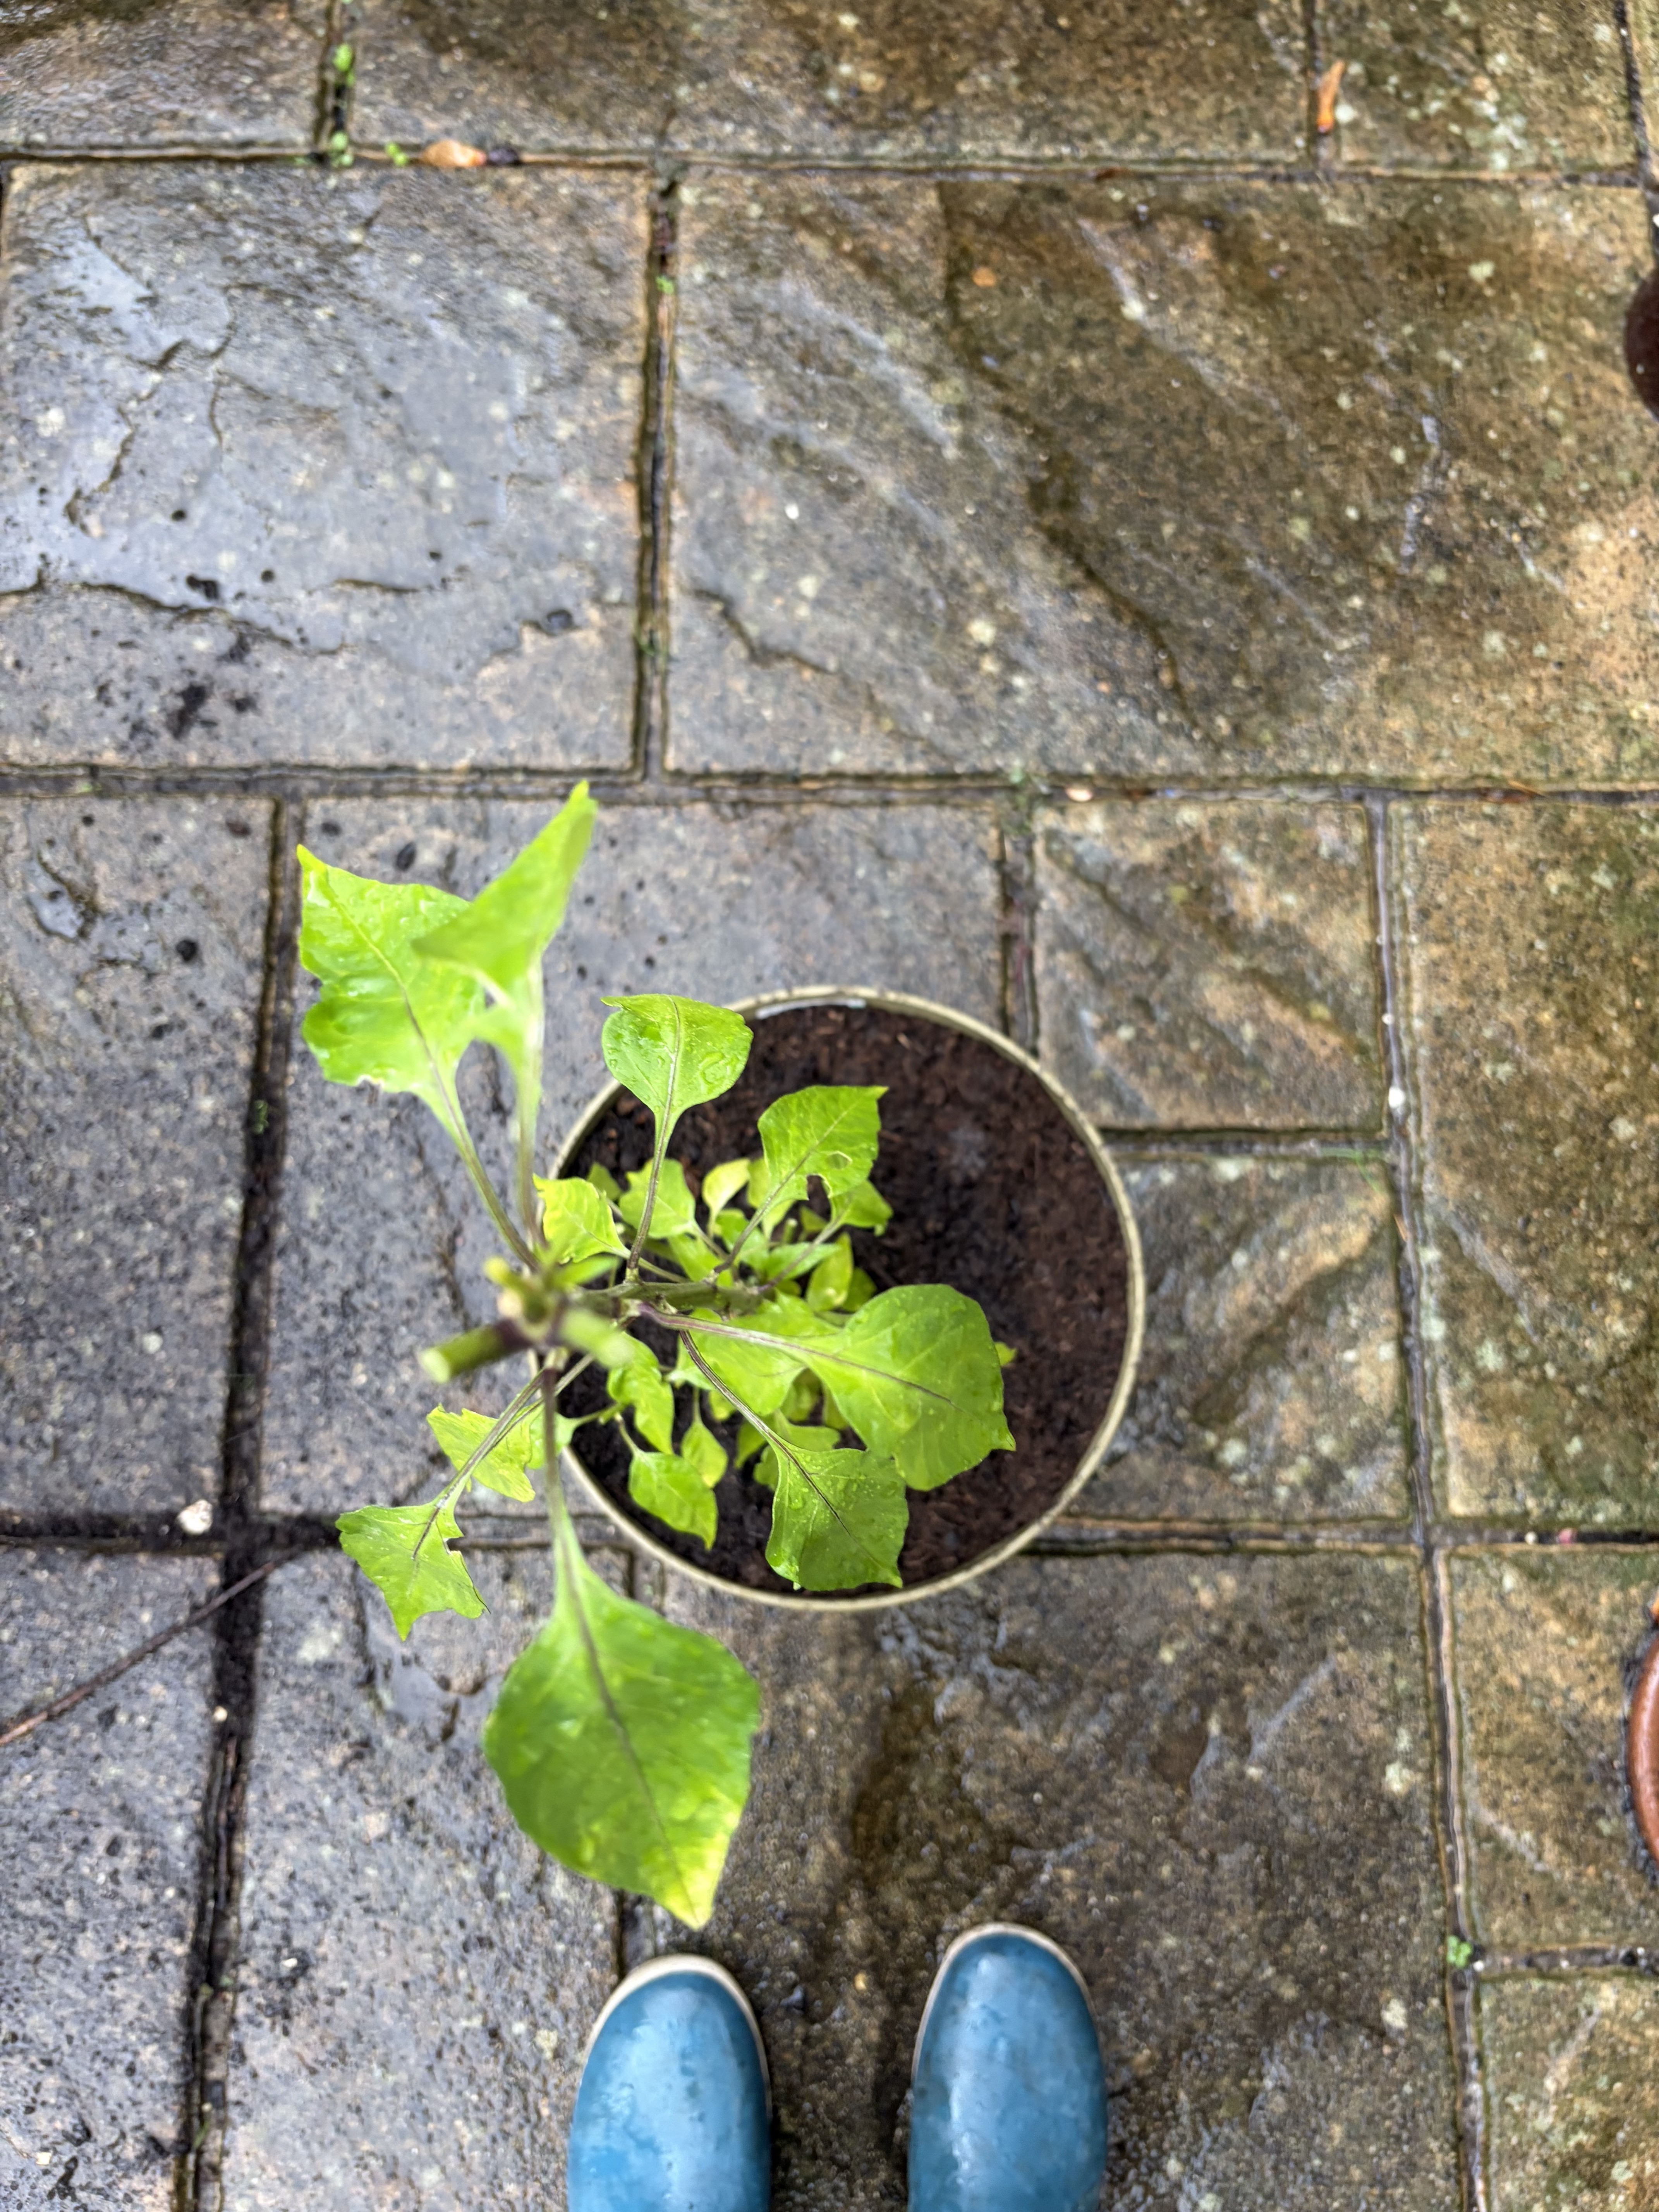
Medium-Sized Pots Are Best For Growing Chilli Up North
Growing bird’s eye chillies in pots means you can easily move them around — chasing the heat on sunny days, overnighting indoors if there is a sudden drop in temperature, and overwintering until it gets warm again in late spring.

Bird’s eye chilli plants are compact and shallow-rooted, making them perfect candidates for container growing. Go for a 20–30 cm diameter pot with good drainage holes.
It is possible to grow bird’s eye chillies in even smaller pots (~15cm in diameter) and still harvest a plentiful crop. (You might need to feed the plants more often in this case.)

However, I would avoid going the other direction and choosing too big a container. I’ve made such a mistake and ended up having to leave some chilli plants outside, even though it’s become too cold at night. (I had to cover the plants with fleece, hoping for the best, while preparing for the worst.)
Plant Care
Watering
Bird’s eye chillies prefer evenly moist soil — not too dry, not soggy.
During hot spells, water daily, but always check that the top layer of compost has dried slightly first.
Water at the base of the plant, avoiding wetting the leaves to prevent fungal issues.
Feeding
Feed your bird’s eye chilli plants every 10–14 days once they begin flowering. (Feeding at shorter intervals might be needed if you use very small pots.)
A high-potassium feed, like tomato fertiliser, encourages more flowers and fruit. Early on, use a balanced fertiliser to promote leafy growth, then switch to a bloom formula once buds appear.
Protecting
- Support: As the plant grows and fruits, the branches can become top-heavy. Insert a small cane and loosely tie the main stem for stability.
- Mulch: Add a thin layer of straw or bark chips to keep moisture consistent.
- Pests: Keep an eye out for aphids and whiteflies. Wiping leaves with soapy water keeps infestations under control.
- Temperature: Bird’s eye chillies don’t like the cold. As soon as the night temperature drops below two digits, you need to protect them. Protection measures vary from covering up the plants to moving them indoors (to an unheated greenhouse and conservatory or sunny heated spots inside your house).


Propagating
In autumn, before the plant finishes fruiting, take cuttings from healthy stems about 10 cm long. Remove the lower leaves and root them in water or compost to create new plants. This is especially useful for overwintering or starting next year’s batch early.
Prune and Train
Pruning helps keep chilli plants bushy and productive. Once your bird’s eye chilli plant has grown 20–25 cm tall, pinch off the top growing tip. This encourages branching and more flowering later on.
At the end of the season, if you’re overwintering your plant, cut it back by about one-third to encourage fresh growth in spring.


Note that indoors, your bird’s eye chilli plants might lose some leaves as winter progresses. Don’t panic. Reduce the watering slightly and wait patiently for spring. The leaves often re-sprout once daylight increases.
If you feel “adventurous”, you can prune them right down to the lowest Y spots. It seems dramatic, but the plant can bounce back, providing good care during the indoor months.)
If you are enjoying this post, you might also appreciate our FREE cheat sheet with 12 Tested Gardening Ideas for Small Spaces.
Provide your info for a link to the downloadable resource and be opted into our email list for the (very) occasional product promotion.


Problems
While generally hardy, bird’s eye chillies can encounter a few common issues:
- Yellowing leaves: Often caused by overwatering or poor drainage. Let the compost dry slightly before watering again.
- No fruit set: This can happen when it’s too cold or humid for pollination. Gently shake flowers or use a small brush to hand-pollinate.
- Aphids or whiteflies: Treat with insecticidal soap or neem oil spray.
- Dropping buds: Usually due to sudden temperature swings — move the pot to a more stable indoor location if possible.
Harvest
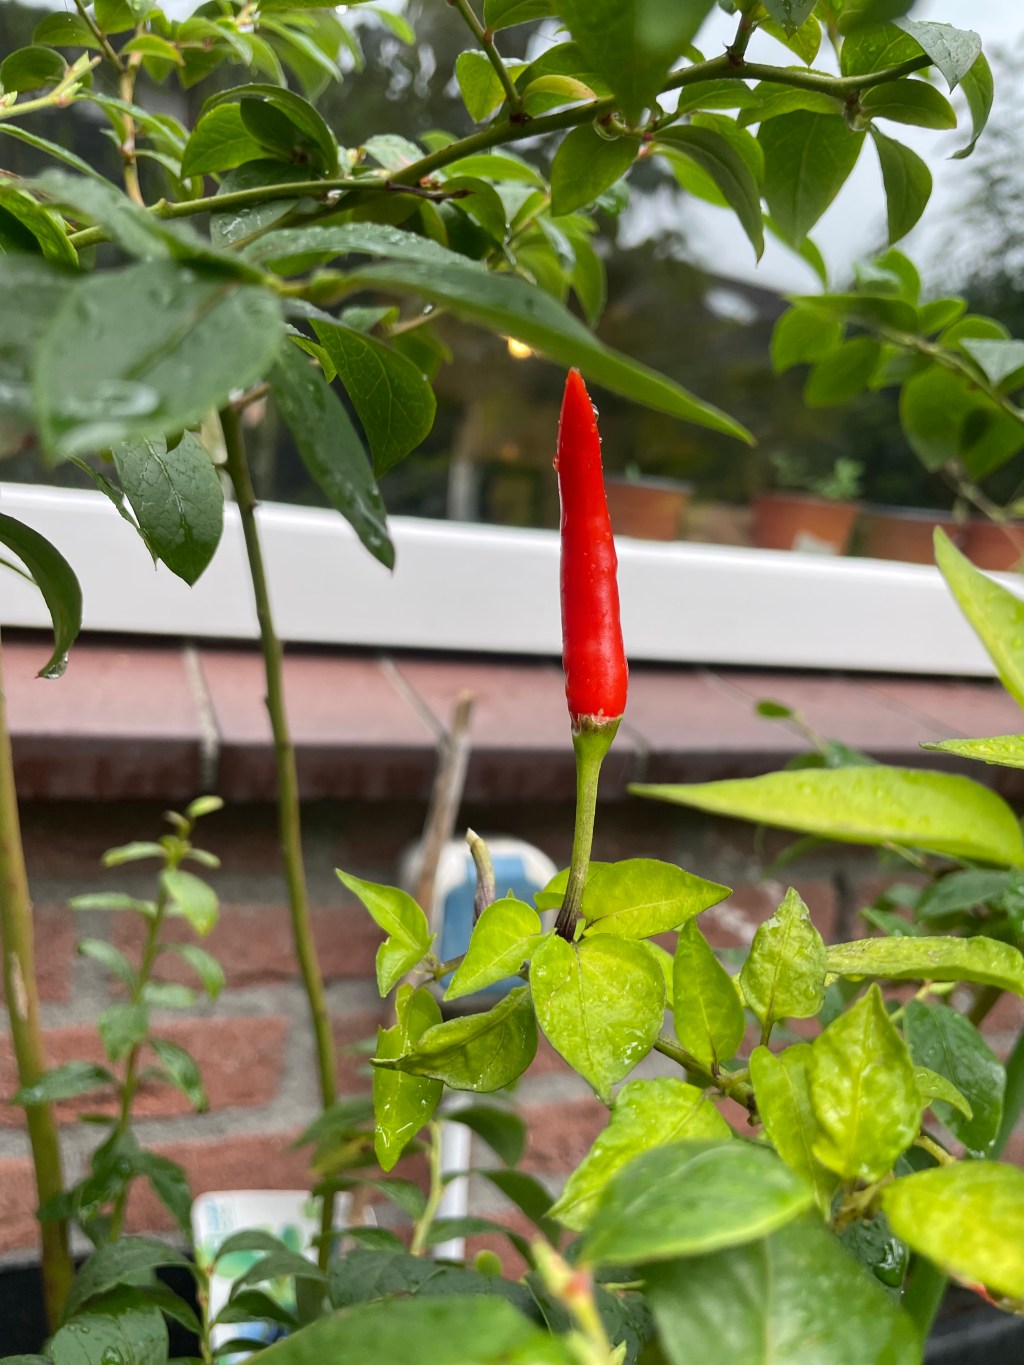
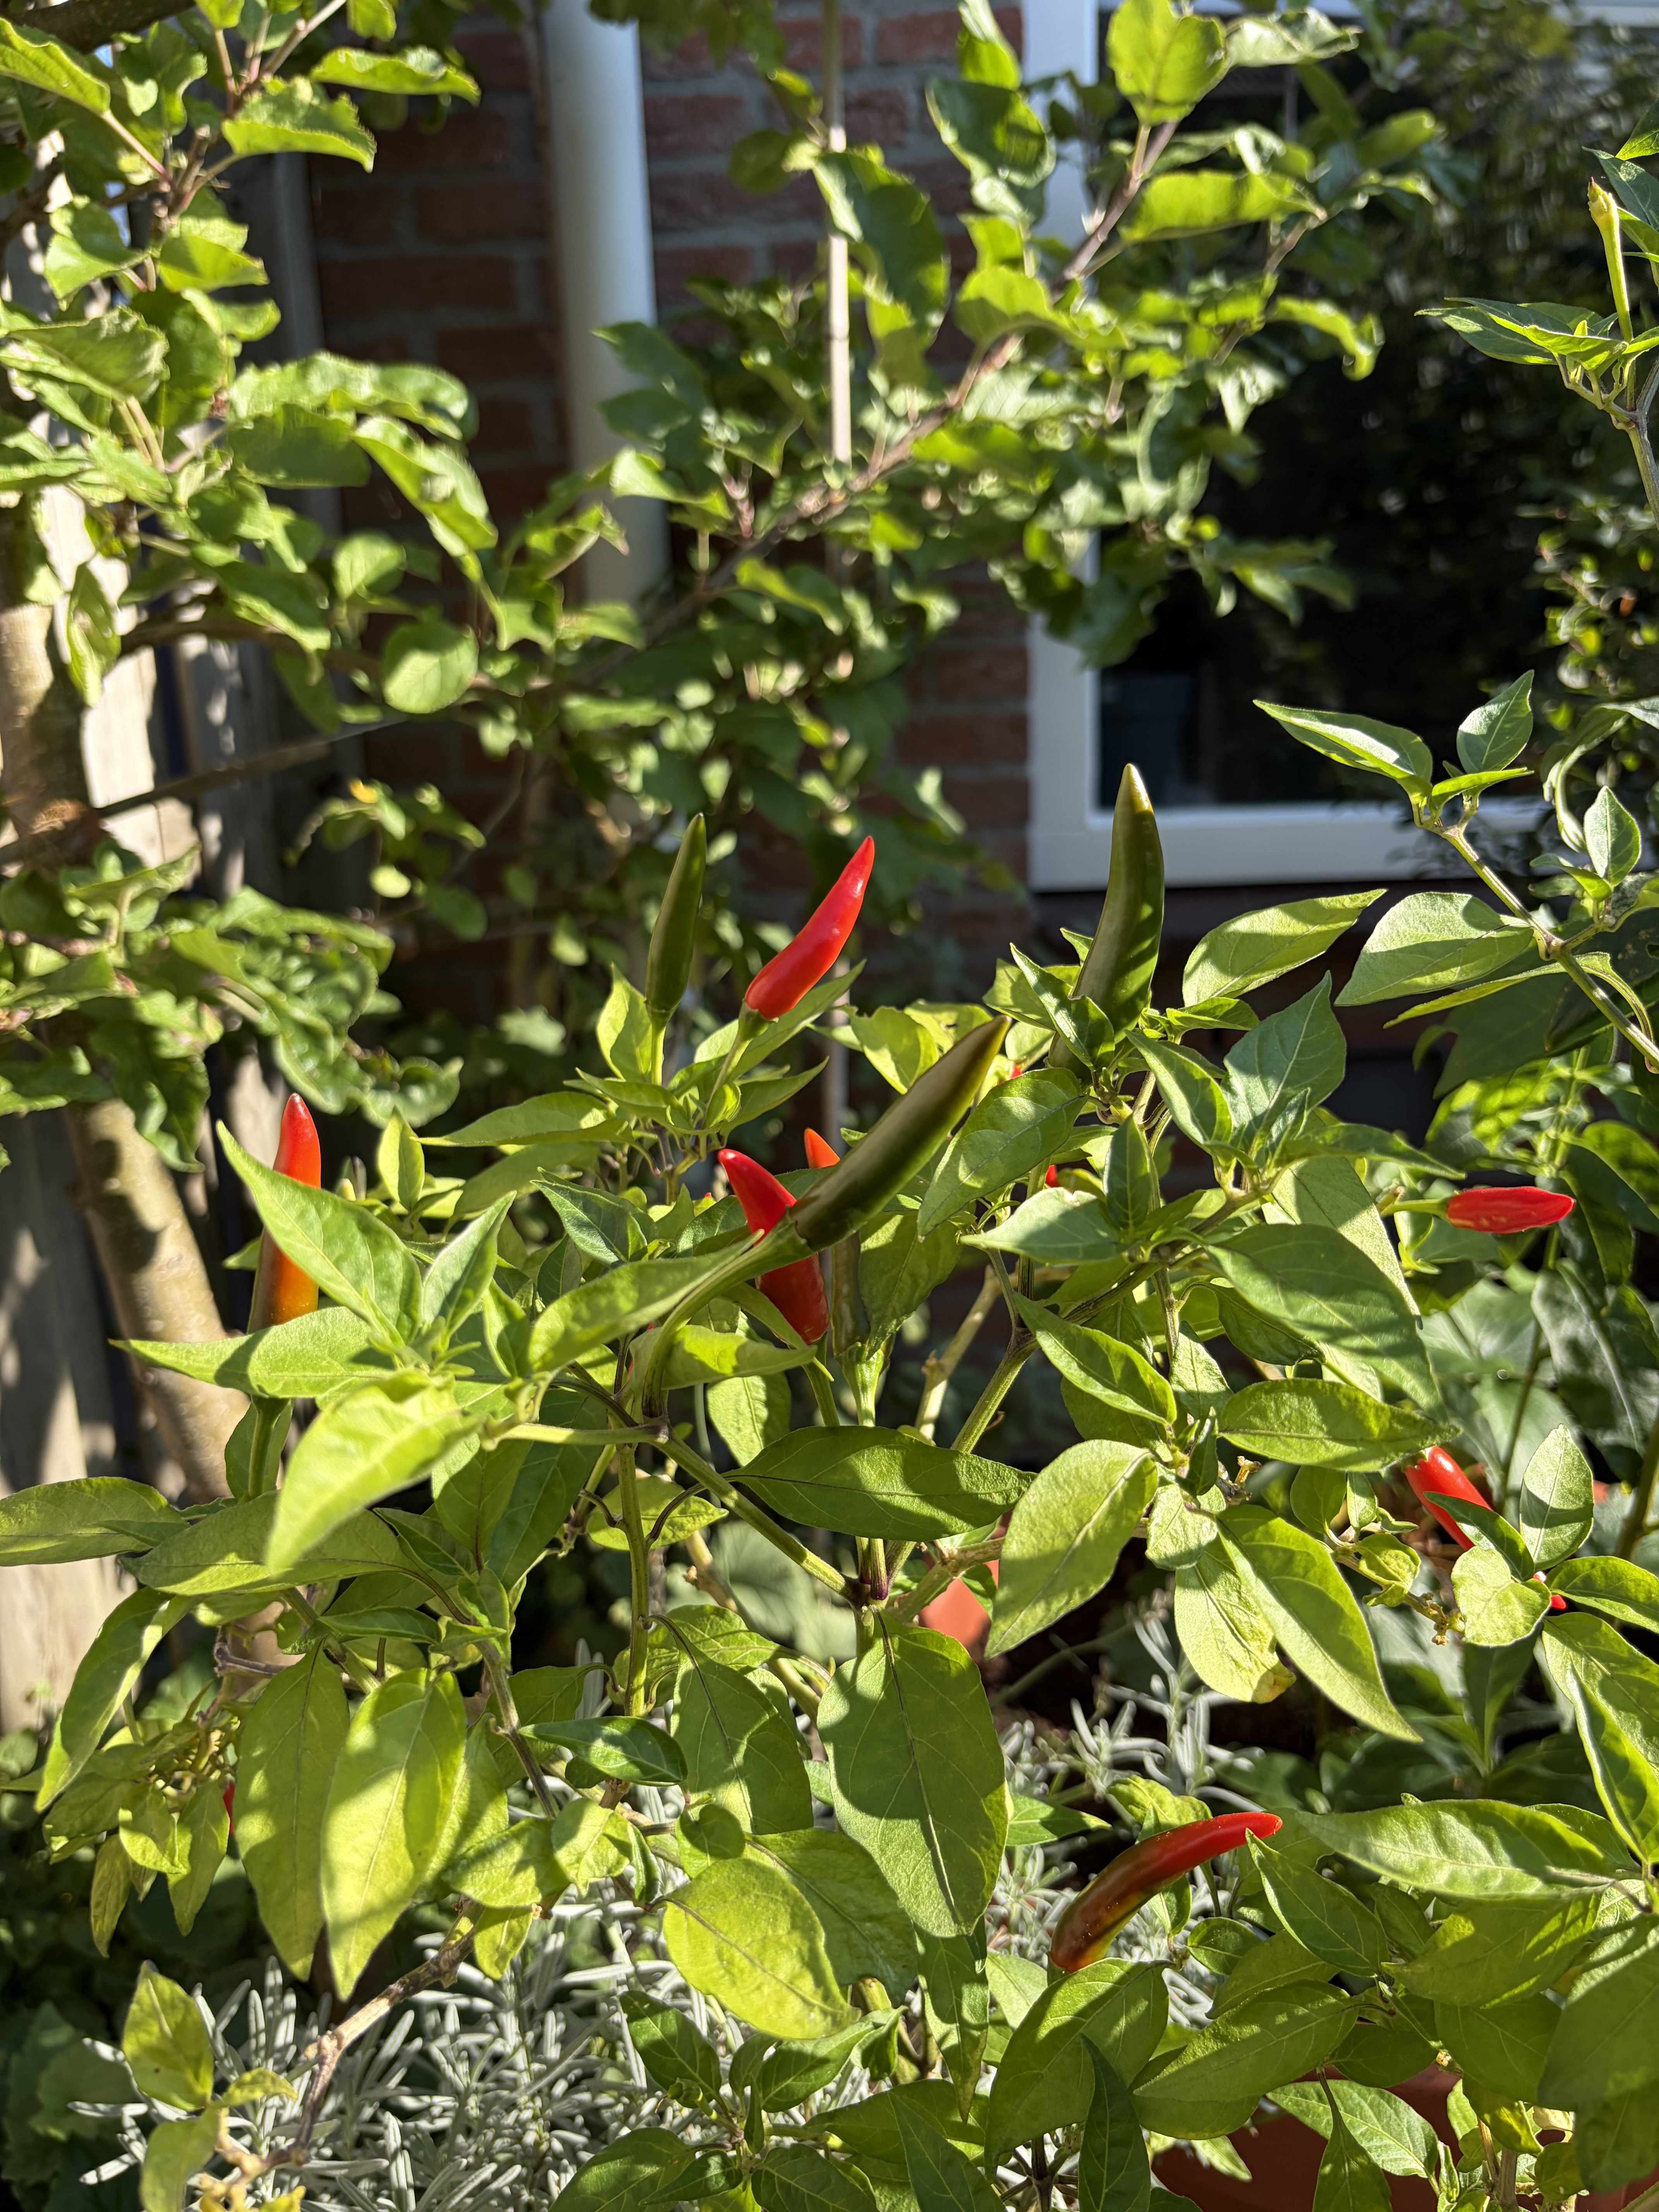
First come the white flowers, then the small, upright pods, transitioning from light green to bright red. Harvest chillies as they ripen to encourage the plant to produce more. Bird’s eye chillies can be used fresh or stored frozen for year-round use.
You might also pick the green ones, as they can be used in stir-fries and curries. (My husband insists on eating some chillies before they turn red, as he also likes the taste of the green ones. )
To extend the harvest into late autumn (and the following years), move pots to the sunniest, most sheltered spot you have — ideally against a warm wall. And, during colder autumn nights, bring your chilli plant indoors.
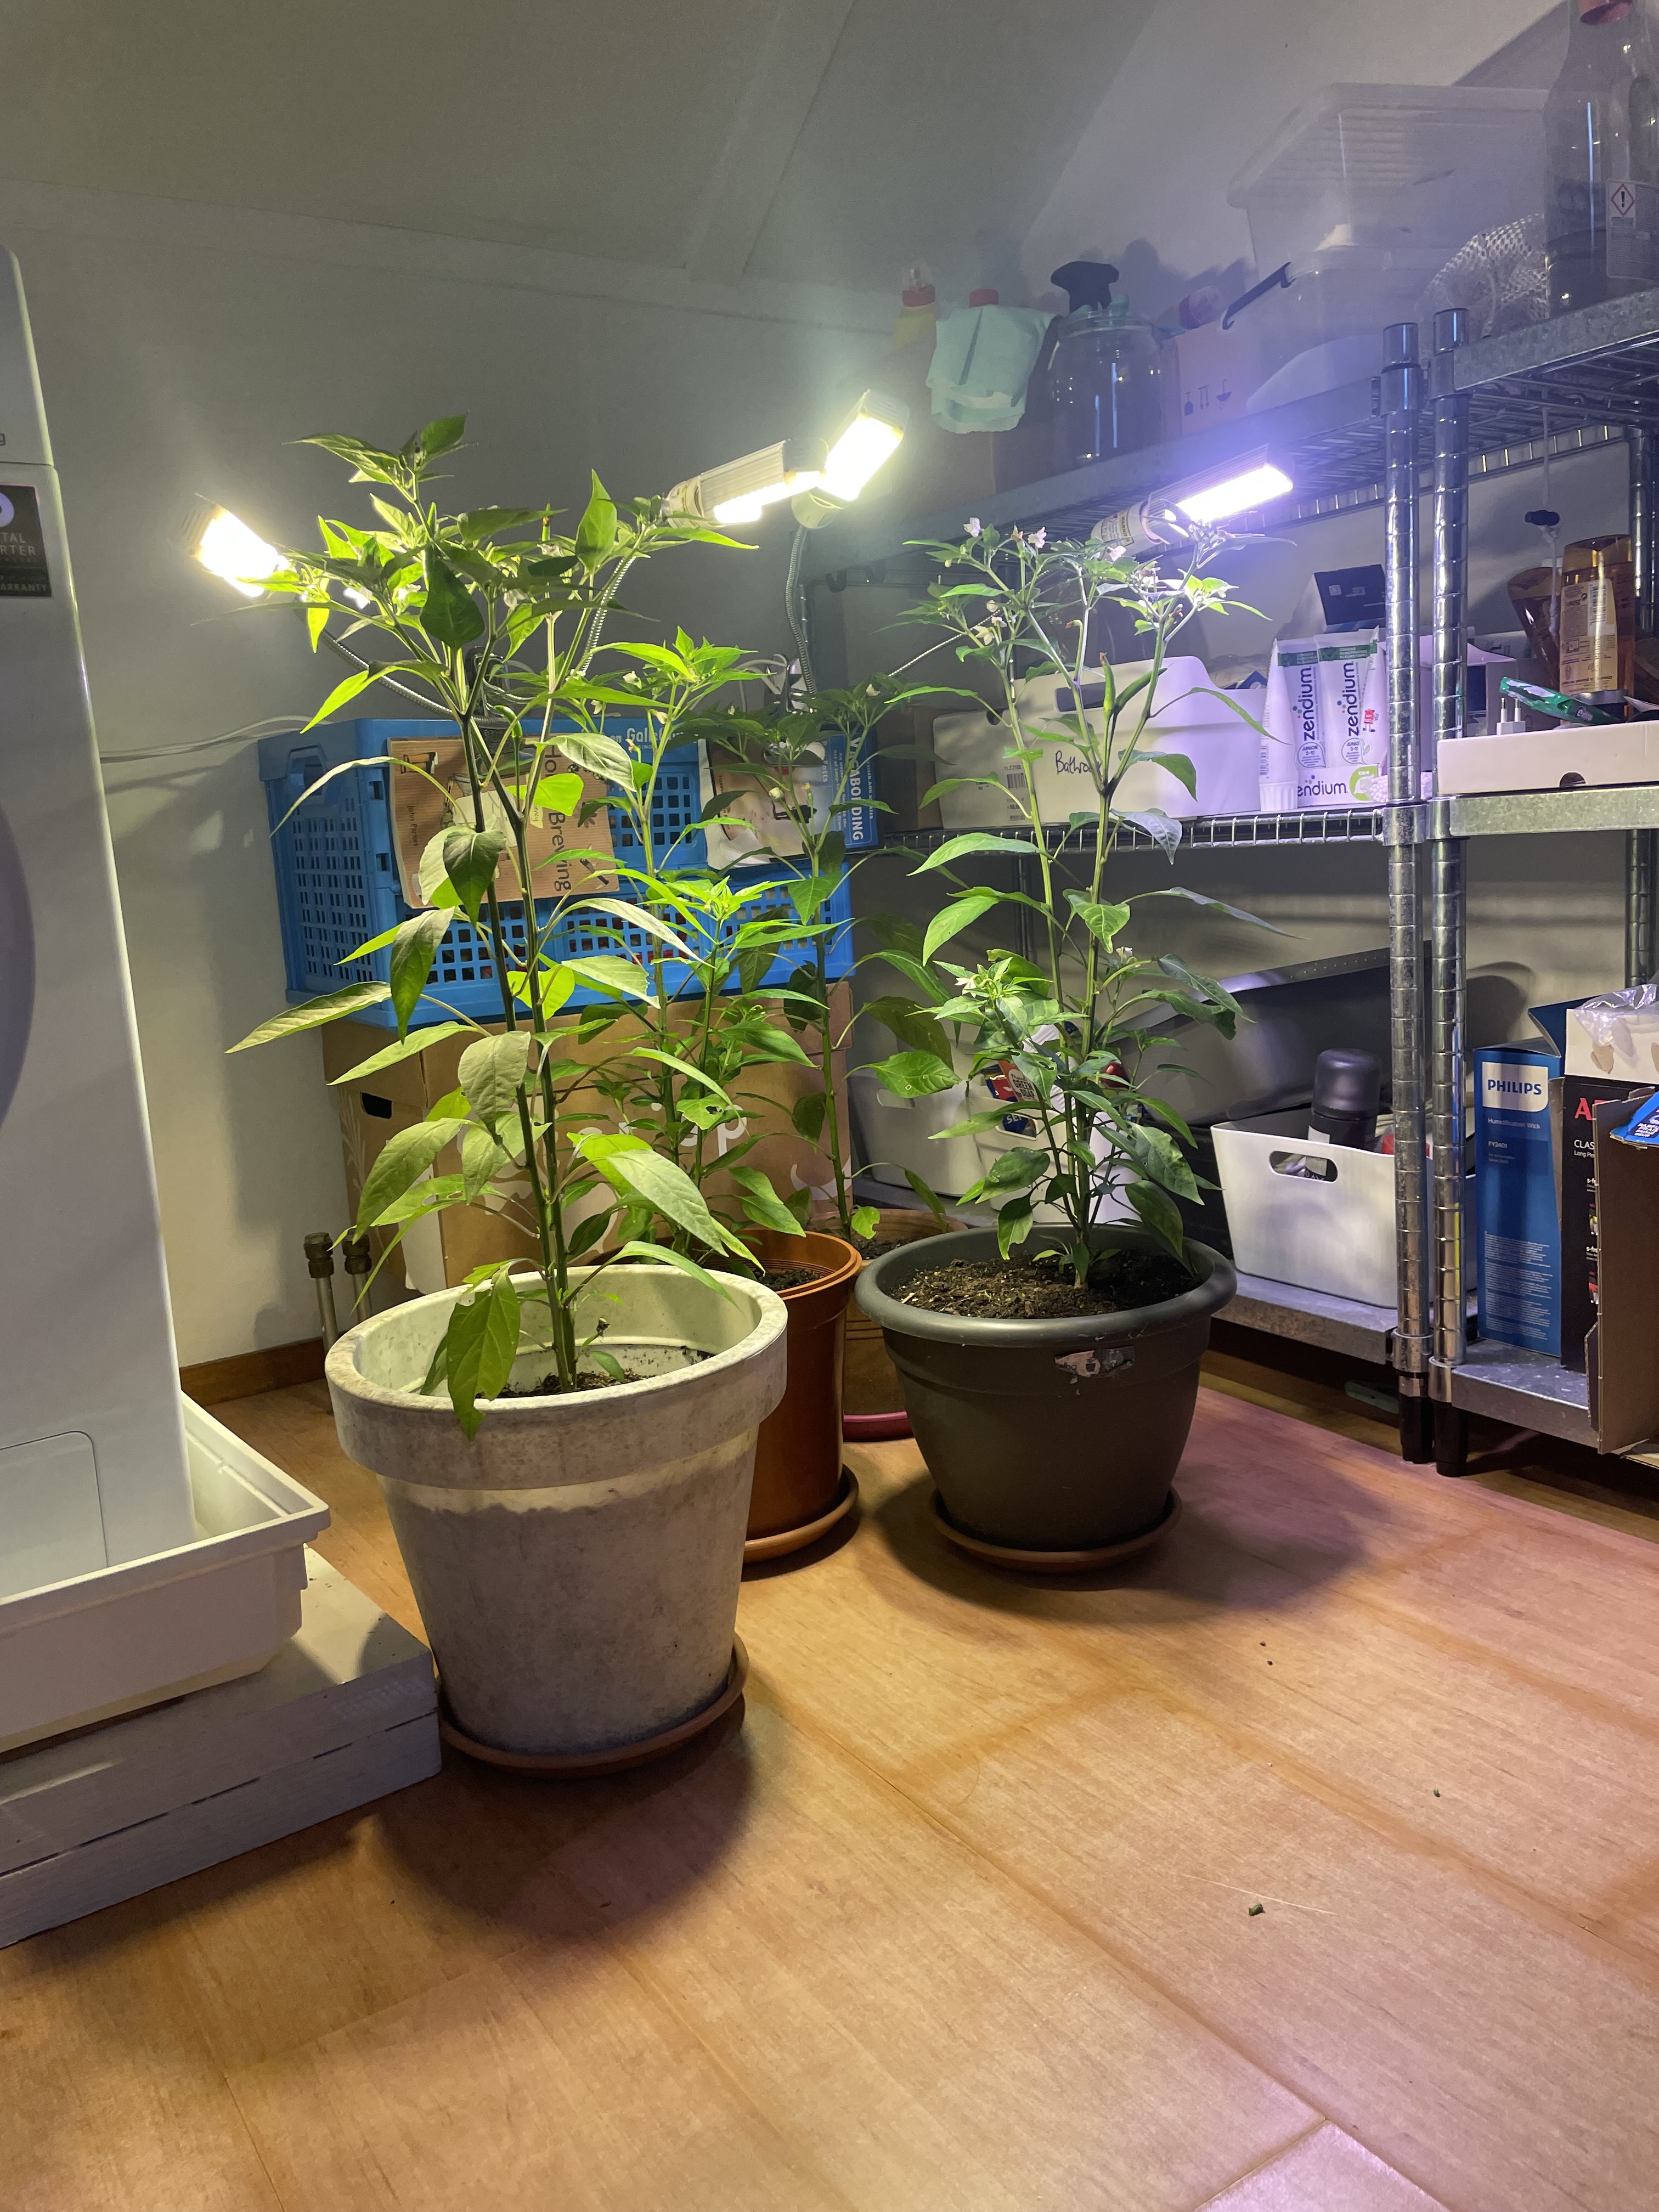
Once it is absolutely not possible for your chillies to stand outside anymore, prepare an overwintering area inside the conservatory or your house. There, you can keep tending to the plants as the growth slows down. (Extra lights can also be used if natural light is very limited.)
Final Thought
Growing bird’s eye chillies in pots is not only doable in northern climates — it’s fun and rewarding. With an early start, good soil, and a bit of warmth, you’ll have compact, fiery plants that thrive on a windowsill, balcony, or patio. And, you can harvest enough chillies to use for months, especially when you feel like a bit of heat in the depths of the cold winter.

Leave a comment