
Leaf mould is an invaluable soil amendment, a gift from nature that you can use in your garden, especially if you have limited space and many plants.
Autumn is a great time to start making leaf mould, thanks to all the fallen leaves. Collect them now to have free soil enhancer later, in the form of mulch (or even sowing compost).
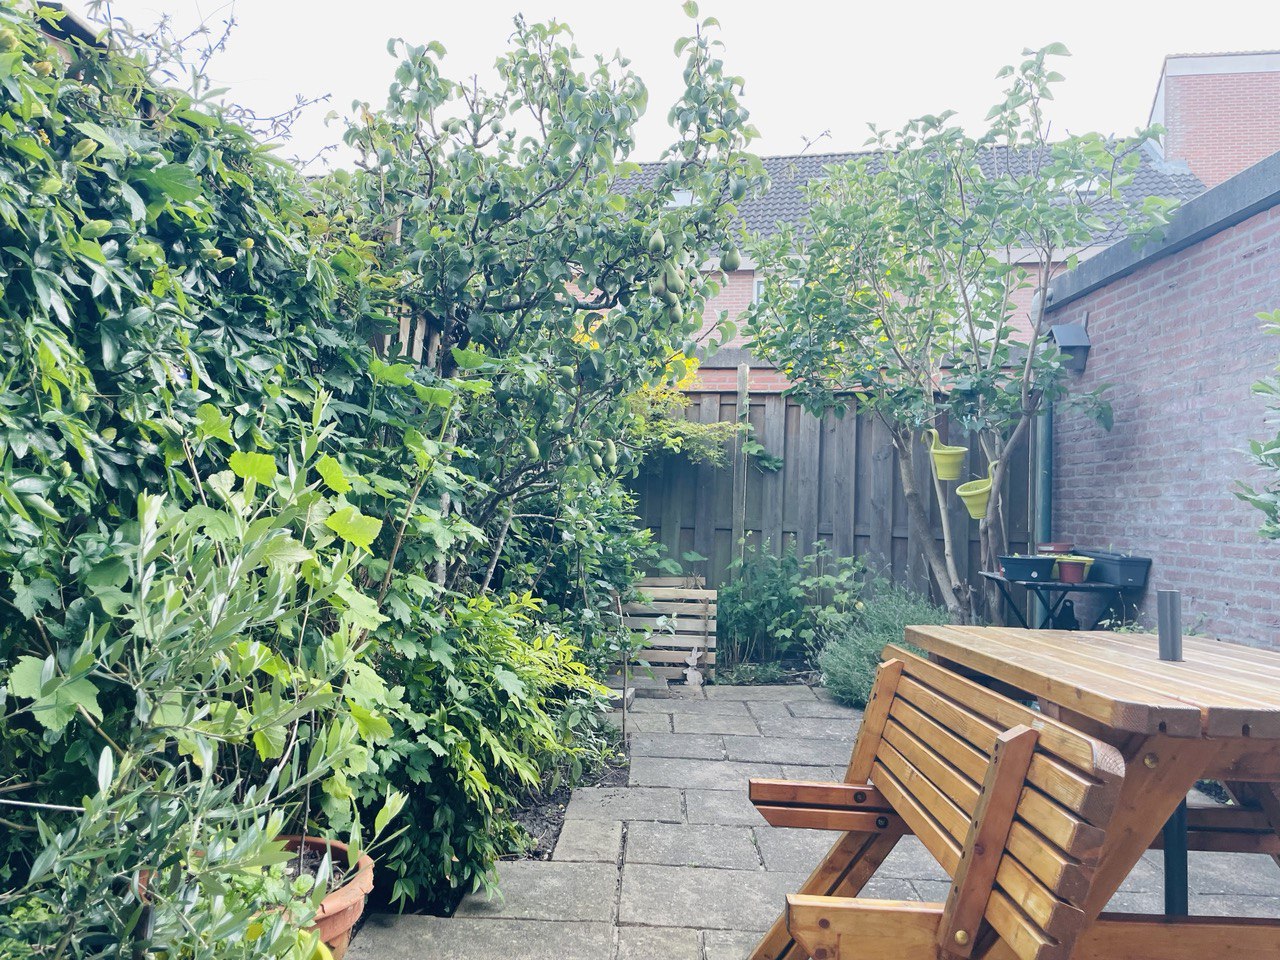
Even if your gardening space is small, don’t dismiss the possibility of making your own leaf mould. There are options, meaning that you might just need a bit of creativity and some shuffling around to make room for a leaf-mould cage or even some big black plastic bags. Then the rest will fall in, with the autumn leaves. (Pun intended! 😛)
What Is Leaf Mould?
Leaf mould is the result of leaves breaking down over time. Depending on the stage of leaf decomposition, leaf mould can be used for different purposes around the garden.
Making leaf mould from fallen leaves is a great way to turn what’s often seen as garden waste into materials that can improve your soil structure and protect your plants.
What to Use Leaf Mould For
Leaf mould’s uses vary depending on how long you’ve left it to break down.
Decomposing Leaf Mould (from 1 to 2 years old)
After one year, a leaf mould is typically crumbly to the touch but still in a form somewhat more like leaves than soil.
Use this type of leaf mould to mulch the garden: over your lawn, on top of a winter-bare vegetable bed, or around the trunk of your fruit trees.
Mulching with leaf mould (an organic material) has various benefits, notably:
- Encourage beneficial soil organisms whose activities help to aerate the soil, improving its structure (and ability to absorb moisture)
- Suppress the persistent perennial weeds (though it might also prevent some self-seeding plants from multiplying in the same area)
- Protect the roots of perennial plants during the winter
Well-Rotted Leaf Mould (more than 2 years old)
decompose for 2 years or more, you will be rewarded with a finer material, great for both mulching and seed sowing.
- Mulching with well-rotted leaf mould has an added benefit. The finer the material, the less cover it provides for slugs and snails to hide. It could mean much fewer “plant munchers” in your garden come spring, as contrast to mulching with decomposing leaf mould (that is still somewhat a leaf size). You would see the difference a lot more if you garden in wet climates (like I do).
- Sowing seeds in well-rotted leaf mould can prevent your seedlings from growing too fast and too leggy in low-light springtime. When you use mainly brown leaves fallen from trees in autumn to make your leaf mould, you will have a material that is mostly carbon and relatively low in nutrients. This is because trees pull nutrients from leaves (to reserve in the trunk) before dropping the leaves in autumn. When you sow seeds in such material, seedlings don’t get the very fast growth that turns them into a legging form that is vulnerable to falling over.
Though a homemade leaf-mould mulch and seed-sowing compost can be invaluable, I understand it is not always doable to keep a leaf-mould container untouched for two years, especially if you have limited gardening space.
I personally take the 1-year route for the leaves in my leafmould cage, and set aside only a 70-litre bin bag of leaves (with some green materials) for the two-year keep. This bag is punched with several holes for air circulation, then tucked between a fence and a tree trunk so I can forget about it for two years. If I don’t hide it, I can never find the patience to wait.
How to Make Leaf Mould
Making leafmould can be the simplest project you have in the garden. All you need are fallen leaves, a container of sorts, and patience.
Materials
You can make leafmould from 100% brown leaves that fall from trees in autumn.

Note that not all fallen leaves are equal when it comes to make leaf mould.
- Oak, beech, birch, hornbeam, and Japanese maple leaves are generally the best materials because they break down easily. They can be thrown into the leaf-mould cage and would break down within a year.
- Tougher leaves (such as horse chestnuts or sycamore) may need to be shredded to aid decomposition.
- Evergreen leaves and conifer needles would take much longer to break down. Also, pine needles, for example, would produce slightly acidic material that is not suitable for all plants. They might be best to avoid.
As mentioned earlier, such leaf mould made with fallen autumn leaves would be low in nutrients. To increase the nutrient content of the decomposed material, add a bit of green material, such as spent annuals or grass clippings. Yet, use them sparingly (10% or less of the total volume of the leaf mould).
Containers for Making Leaf Mould
You can make leaf mould in almost anything because it doesn’t need heat — only air, moisture, and time.

Open Containers
An open container for leaf mould can be
- An open wooden bin made by stacking up wood planks
- A circle of chicken wire
- A sheltered corner of the garden where the leaves are not likely to be blown away
The benefits of an open leafmould container
- Excellent airflow → faster decomposition
- Easy to fill
- Wildlife-friendly
Tip: You can loosely cover the container with a piece of cardboard or hessian to retain moisture.
Closed Containers
These type of containers might work better for very small gardens, patios, and balconies.
Things you can use as a closed leaf-mould bin:
- Old compost bags (puncture holes in them)
- Plastic bins or buckets with drilled holes
- Garden waste sacks
- Fabric grow bags
The benefits of a closed leaf-mould container are:
- Contained and tidy
- Slower to dry out
Tip: Simply fill, moisten, tie loosely, and tuck out of sight so that you can forget about it for a year or two.
Ideal Conditions for Leaf Breakdown
Leaf mould is slow-made but easy. Yet, there are a few gentle nudges you can provide to fasten the process.
1. Size of Materials
Smaller pieces break down faster.
To speed things up:
- Shred or crush the leaves
- Chop up spent plant materials
2. Moisture
Leafmould should be moist like a wrung-out sponge.
Too dry?
- Water lightly
- Cover the container
Too wet?
- Add dry leaves
- Improve airflow through light raking or turning (but take care for wildlife hiding in your leafmould)
If you use an open container, do check the moisture every month or two in the first year.
Fallen Leaves are Autumn Treasure In and For Your Garden
The beauty of leaf mould is that it comes from materials gardeners usually throw away. Even if you don’t have a lot of leaves in your garden, you can easily find them around, either from other gardens or on public land. Once you have got the leaves, there is almost no more work but a bit of patience.


Leave a comment